Microsoft Copilot for Security is a cloud-based, AI-powered security analysis tool that is designed to address these challenges. It enables analysts to process security signals and respond to threats at a machine speed that far surpasses human capabilities, thus revolutionizing the way organizations approach cybersecurity.
Use cases
Microsoft Copilot for Security focuses on making the following highlighted use cases easy to use.
- Incident summarization – Gain context for incidents and improve communication across your organization by leveraging generative AI to swiftly distill complex security alerts into concise, actionable summaries, which then enable quicker response times and streamlined decision-making.
- Impact analysis – Utilize AI-driven analytics to assess the potential impact of security incidents, offering insights into affected systems and data to prioritize response efforts effectively.
- Reverse engineering of scripts – Eliminate the need to manually reverse engineer malware and enable every analyst to understand the actions executed by attackers. Analyze complex command line scripts and translate them into natural language with clear explanations of actions. Efficiently extract and link indicators found in the script to their respective entities in your environment.
- Guided response – Receive actionable step-by-step guidance for incident response, including directions for triage, investigation, containment, and remediation. Relevant deep links to recommended actions allow for quicker response.
These use cases represent just a few of the capabilities that Copilot delivers and that helps make analysts more productive and also helps up-level them.
Minimum requirements
Subscription
In order to purchase security compute units, you need to have an Azure subscription.
Security compute units
Security compute units are the required units of resources needed for dependable, consistent performance of Microsoft Copilot for Security.
Copilot for Security is sold in a provisioned capacity model and is billed by the hour. You can provision security compute units (SCUs) and increase or decrease them at any time. Billing is calculated on an hourly basis with a minimum of one hour.
For more information, see Microsoft Copilot for Security pricing.
Capacity
Capacity in the context of Copilot for Security, is an Azure resource that contains SCUs. SCUs are provisioned for Copilot for Security. You can easily manage capacity by increasing or decreasing provisioned SCUs within the Azure portal or the Copilot for Security portal. Copilot for Security provides a usage monitoring dashboard for Copilot owners, allowing them to track usage over time and make informed decisions about capacity provisioning. For more information, see Managing usage.
Onboarding to Copilot for Security
Onboarding to Copilot for Security is a two-step process:
- Provision capacity
- Set up default environment
Provision capacity
You can choose from the following options to provision capacity:
Option 1 (Recommended): Provision capacity within Copilot for Security
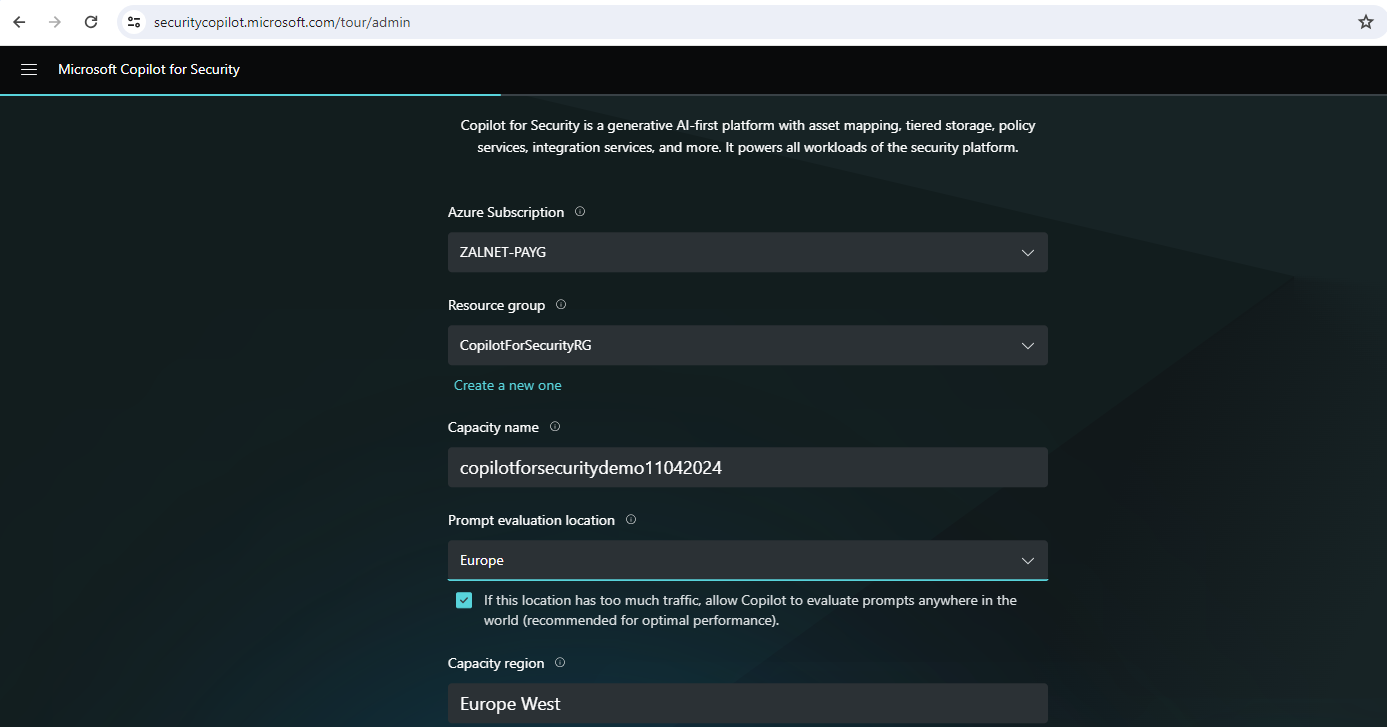
When you first open Copilot for Security (https://securitycopilot.microsoft.com/tour/admin), you are guided through the steps in setting up capacity for your organization.
Note: You need to be an Azure owner or contributor at a minimum at a resource group level to be able to create capacity.
- Sign in to Copilot for Security (https://securitycopilot.microsoft.com/tour/admin).
- Set up your security capacity:
- Select the Azure subscription, associate capacity to a resource group, add a name to the capacity, select the prompt evaluation location, and specify the number of Security Compute Units (SCUs). Data is always stored in your home tenant geo.
- Confirm that you acknowledge and agree to the terms and conditions, then select Continue.
Note: Regardless of the method you choose, you will need to purchase a minimum of 1 and a maximum of 100 SCUs. The recommended number of units to start the most basic exploration of Copilot for Security is 3 units. The number of SCUs is provisioned on an hourly basis, and the estimated monthly cost is displayed.
If your selected geo location is too busy, you can also evaluate the prompts anywhere in the world. This can be done by selecting the appropriate option in the capacity creation screen.

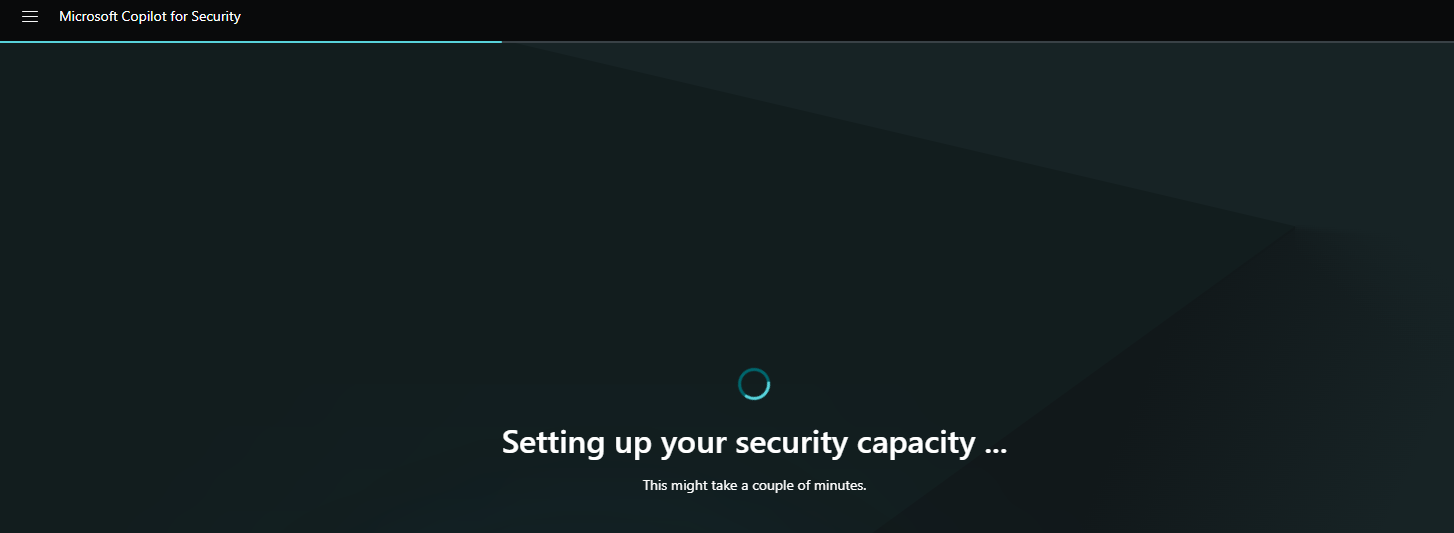
4. After you’ve created the capacity, it will take a few minutes to deploy the Azure resource on the back end.
Set up default environment
Note: You need to have a Global Administrator or Security Administrator role to accomplish this task.
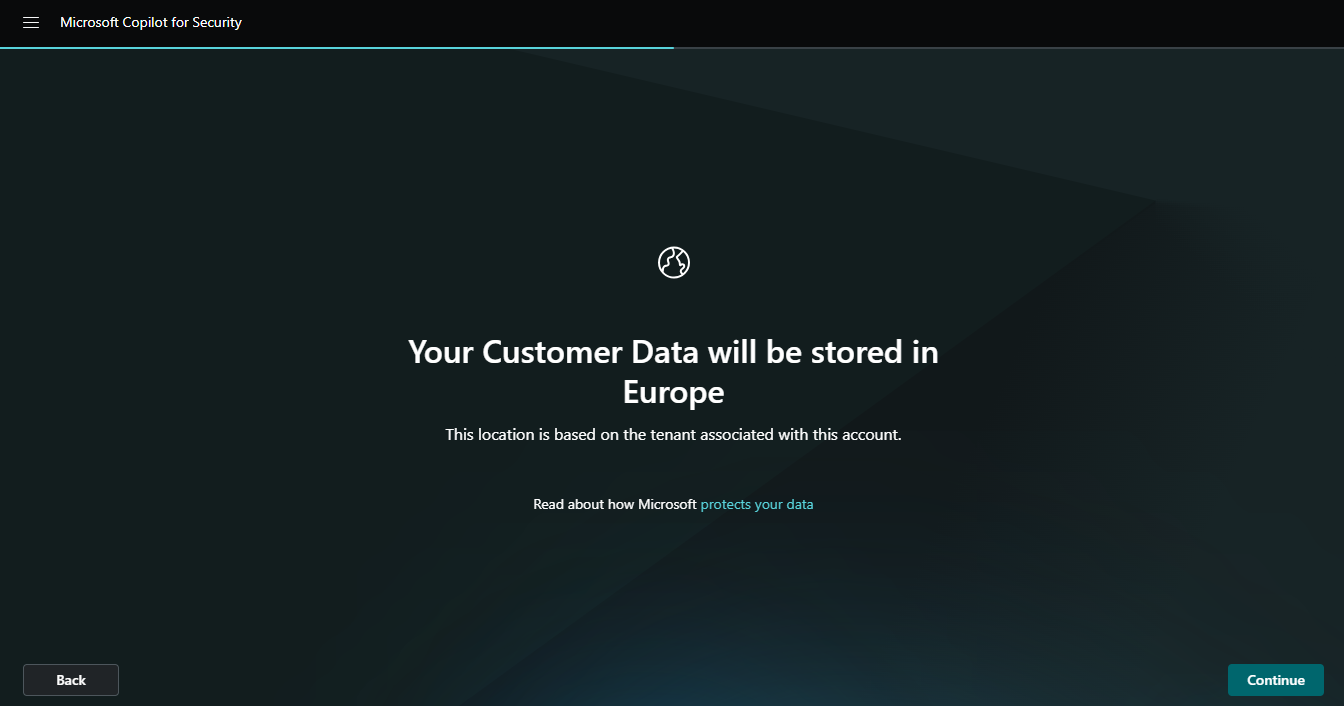
- Wait until the capacity is set. You’re informed where your Customer Data will be stored. Click Continue.
2. Decide if you want to help improving Copilot. Select among the data sharing options. For more information on data sharing, see Privacy and data security. Click Continue.

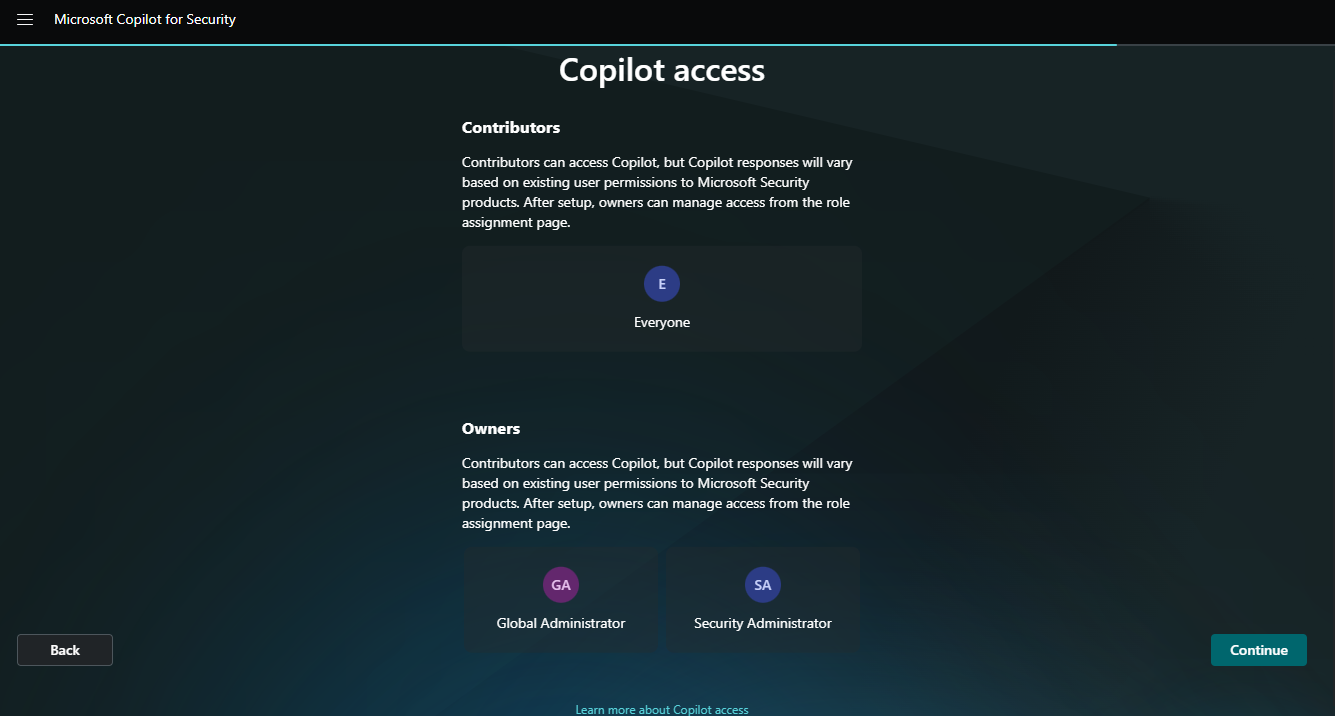
3. You’ll be informed of the default roles that can access Copilot for Security. Click Continue.
4. A confirmation page is displayed. Click Finish.
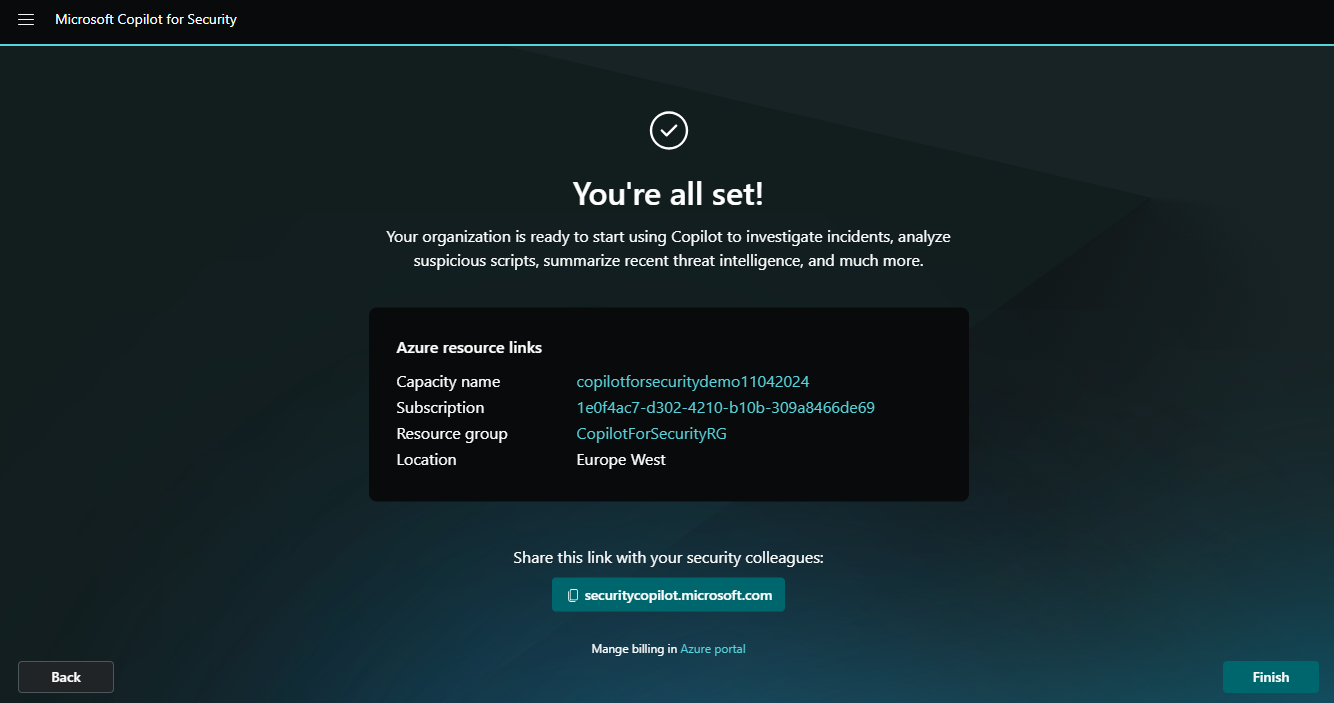
5. Our Microsoft Copilot for Security is ready to use.
Option 2: Provision capacity through Azure
The initial set up in this method starts in the Azure portal. You then need to complete the set up in the Copilot for Security portal.
Note: You need to be an Azure owner or contributor at a minimum at a resource group level to be able to create capacity.
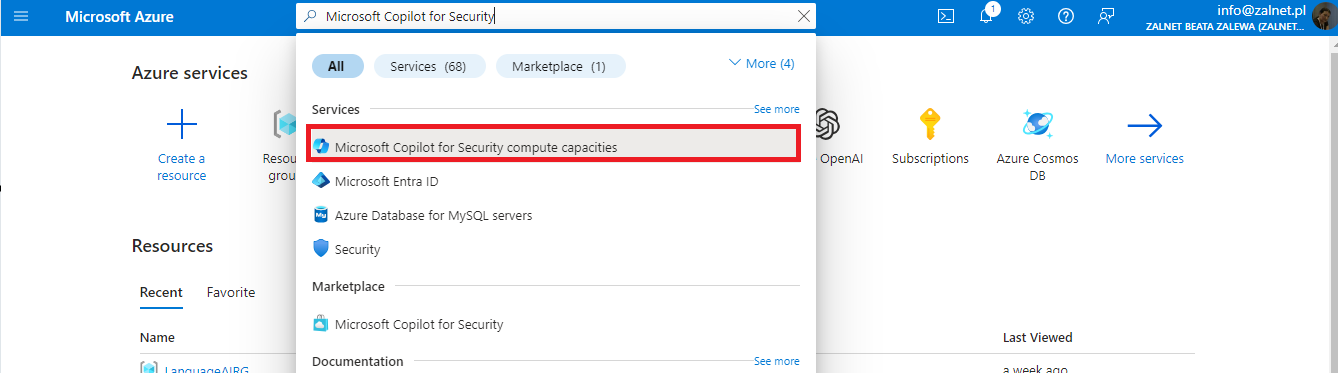
- Sign in to the Azure portal.
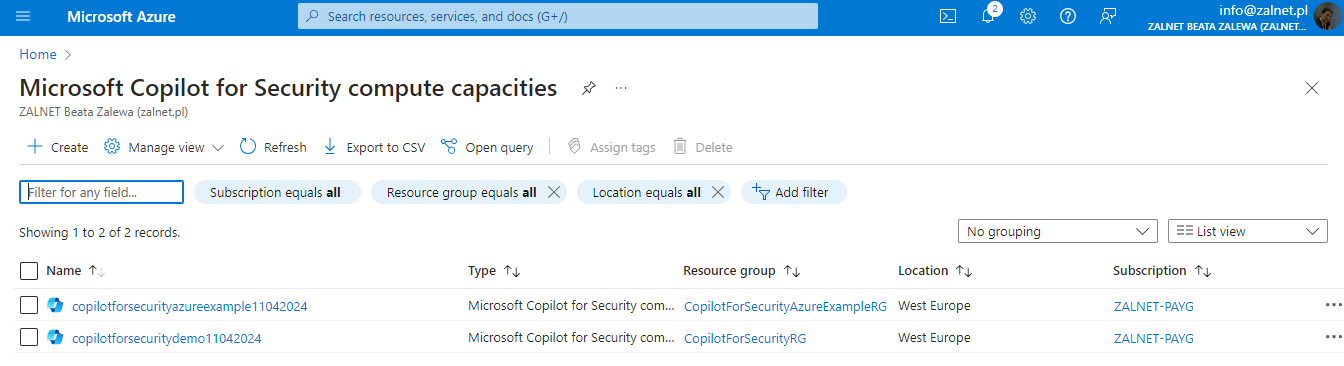
- Search for Copilot for Security in the list of services, then select Microsoft Copilot for Security compute capacities.
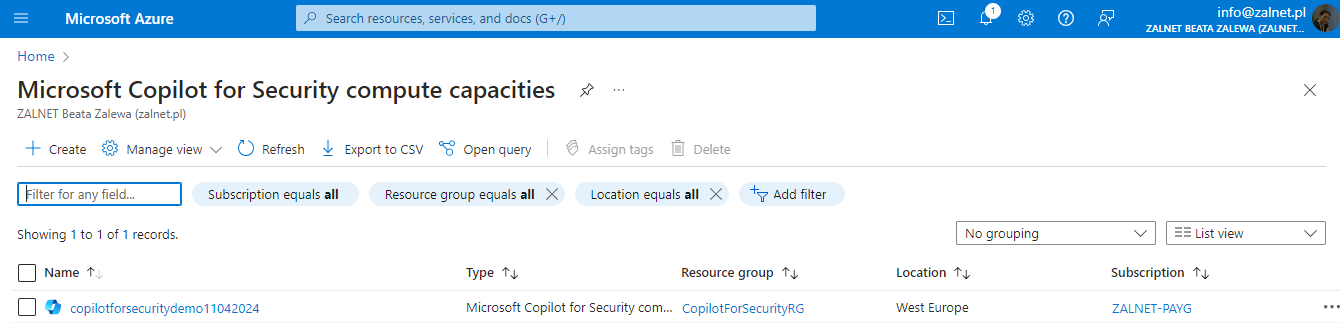
3. Click Create.
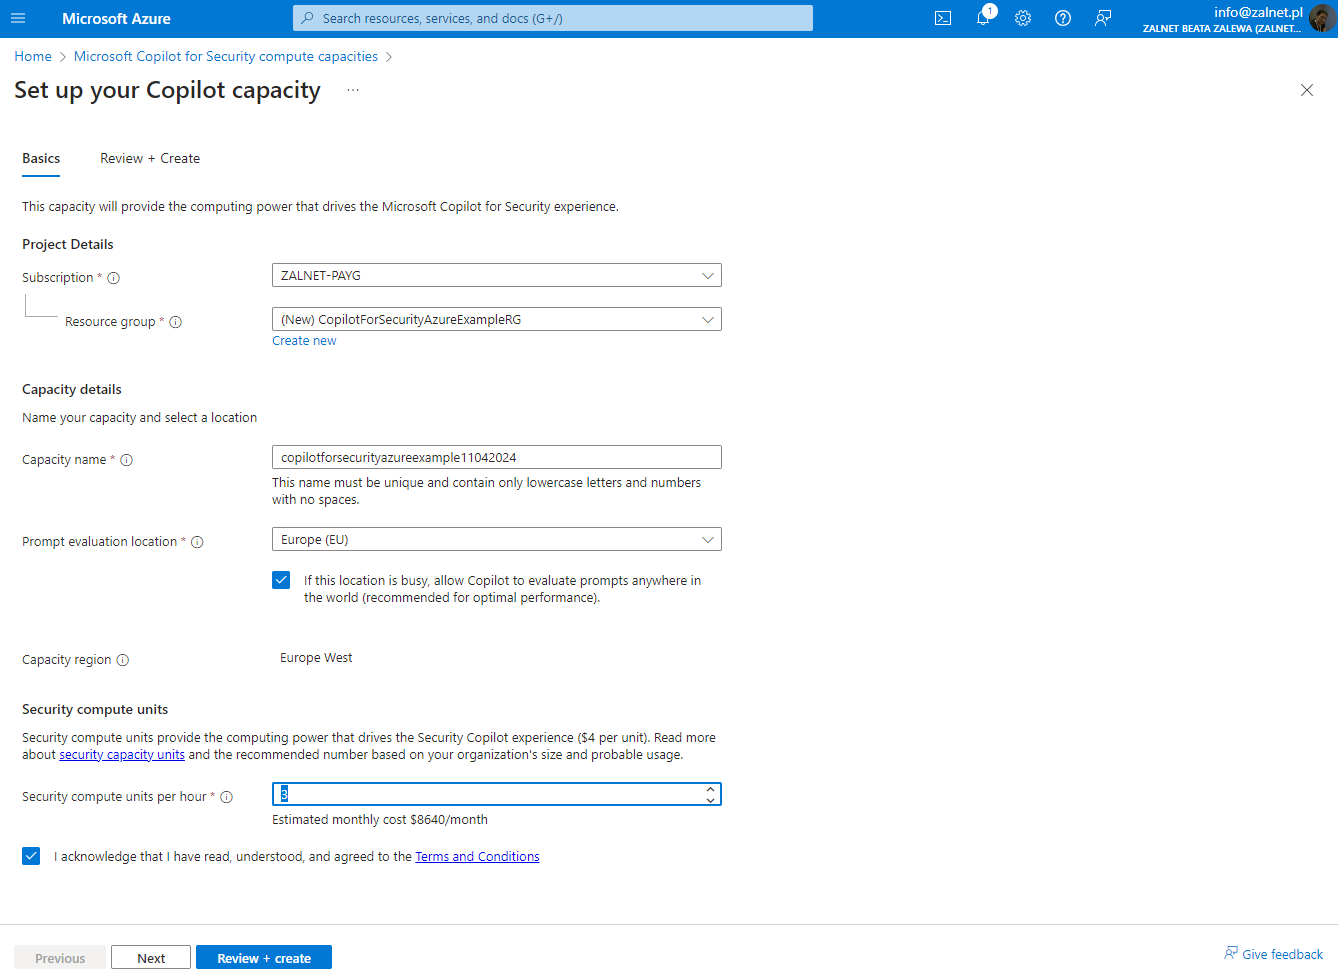
4. Select a subscription and resource group, add a name to the capacity, select the prompt evaluation location and select the number of Security Compute Units (SCUs). Data is always stored in your home tenant geo. Confirm that you acknowledge and have read the terms and conditions, then select Review + create.
Note: The number of SCUs is provisioned on an hourly basis, and the estimated monthly cost is displayed.
If your selected geo location is too busy, you can also evaluate the prompts anywhere in the world. This can be done by selecting the appropriate option in the capacity creation screen.
5. Verify that all the information is correct, then select Create.
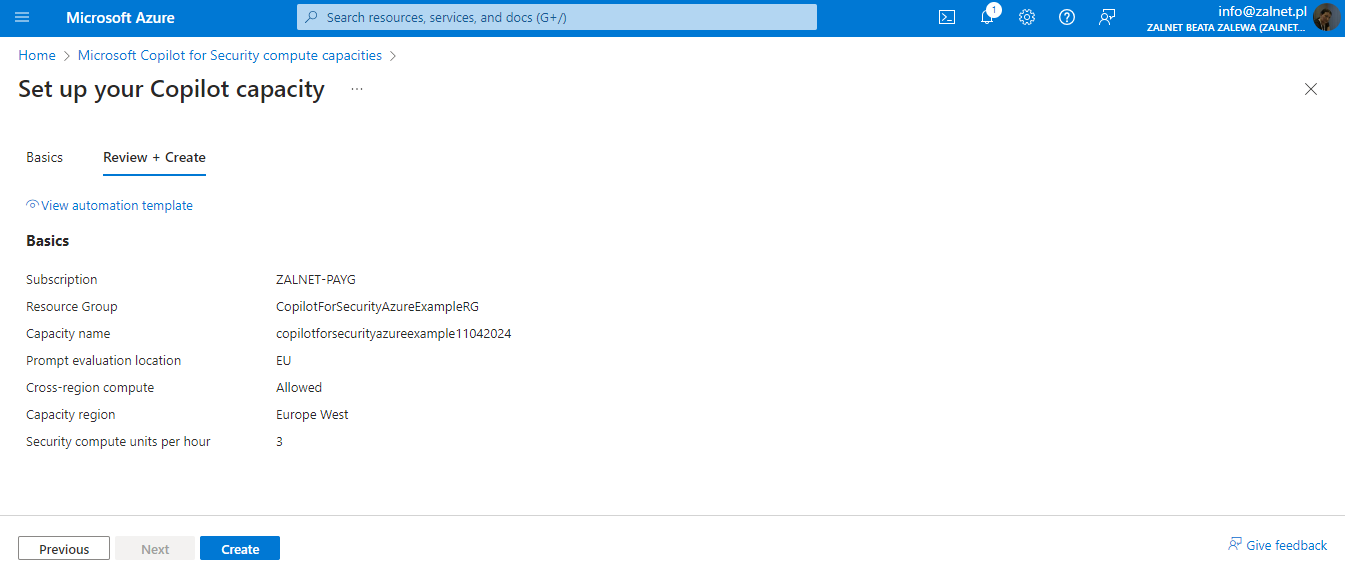
6. A confirmation page is displayed.
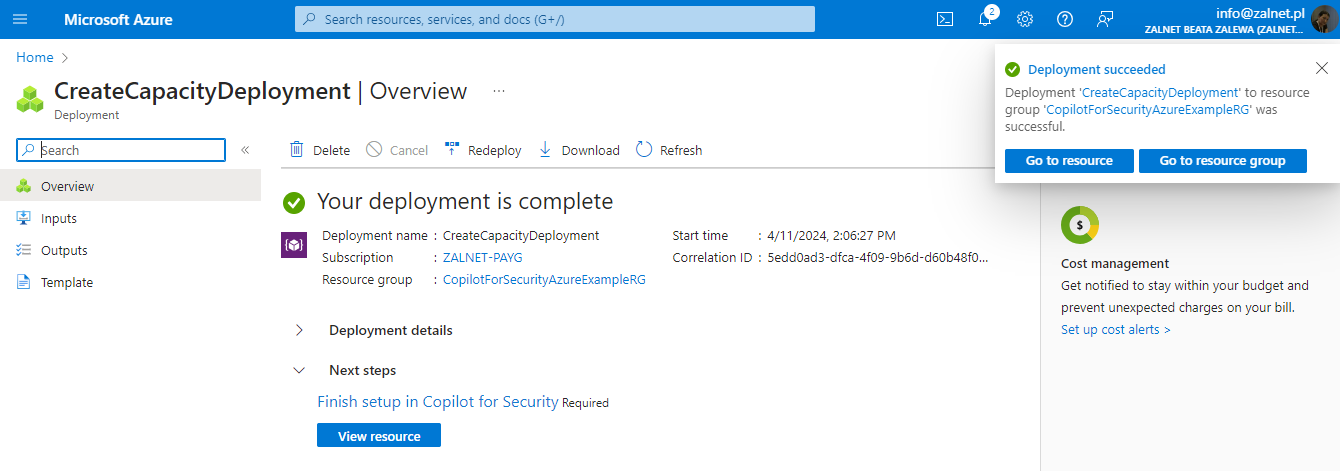
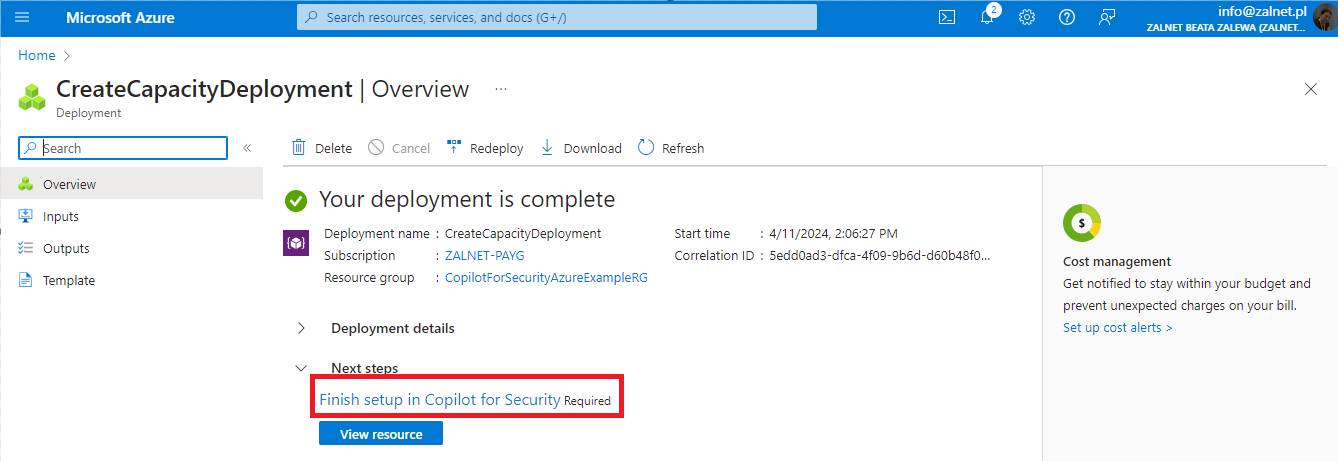
7. Click Finish setup in the Copilot for Security portal (required step).
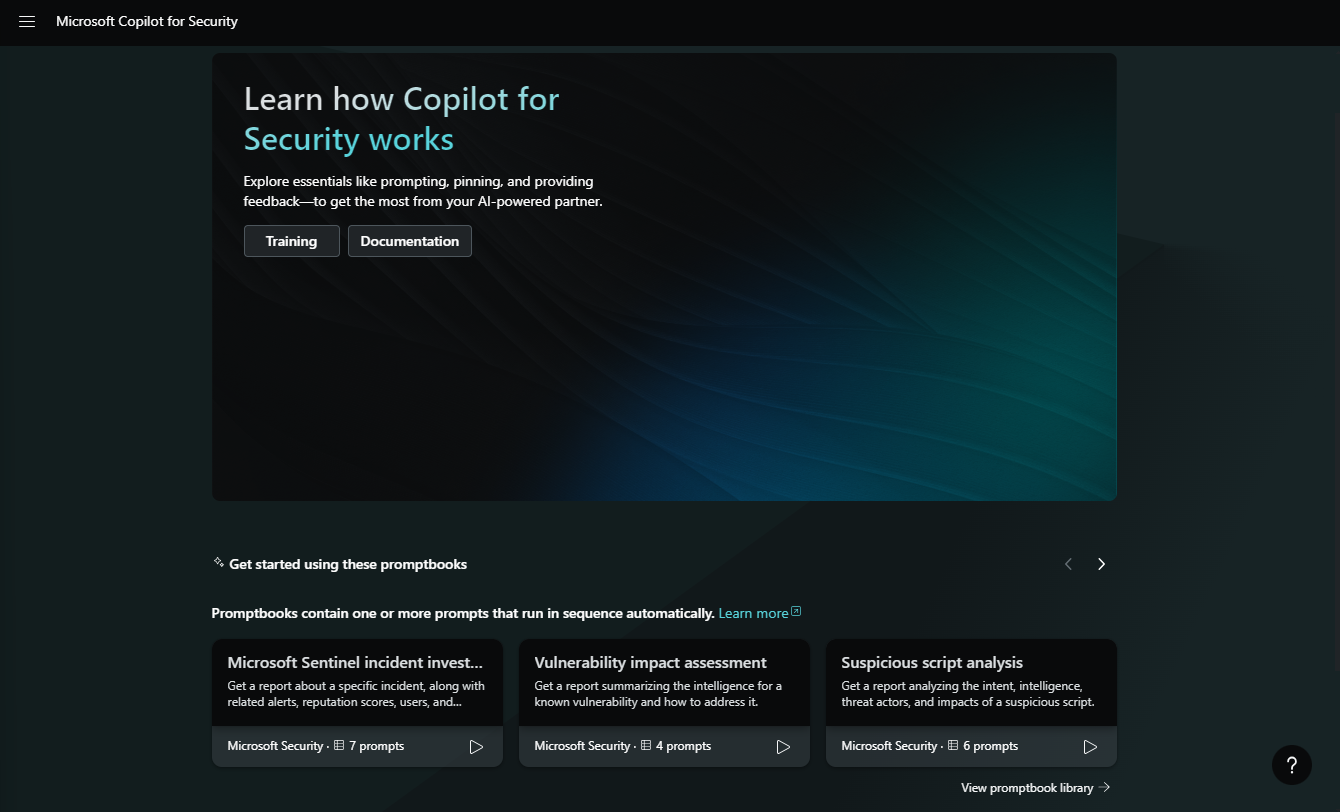
8. The Copilot for Security is ready to use.
9. Now we have 2 instances of Microsoft Copilot for Security.