[ai_post_generator_toc]
Introduction: Win32 Applications in Microsoft Intune
Microsoft Intune enables Windows Win32 app management. Although it’s possible for cloud-connected customers to use Microsoft Configuration Manager for Windows app management, Intune-only customers will have greater management capabilities for their Win32 apps. This post provides an overview of the Intune Win32 app management features and related information, like creation and deployment process. This app management capability supports both 32-bit and 64-bit operating system architecture for Windows applications.
Prerequisites for Win32 deployments
- Windows 10 Version 1607 or later (Enterprise, Pro, Education)
- Max Windows application size: 30GB
- Devices Enrolled in Intune:
- Microsoft Entra Registered
- Microsoft Entra joined
- Microsoft Entra Hybrid Joined
You also need to download Microsoft Win32 Content Prep Tool. Use the Microsoft Win32 Content Prep Tool to pre-process Windows Classic apps. The packaging tool converts application installation files into the .intunewin format. The packaging tool also detects the parameters required by Intune to determine the application installation state. After you use this tool on your apps, you will be able to upload and assign the apps in the Microsoft Intune console.
Prerequisites
- .NET Framework 4.7.2
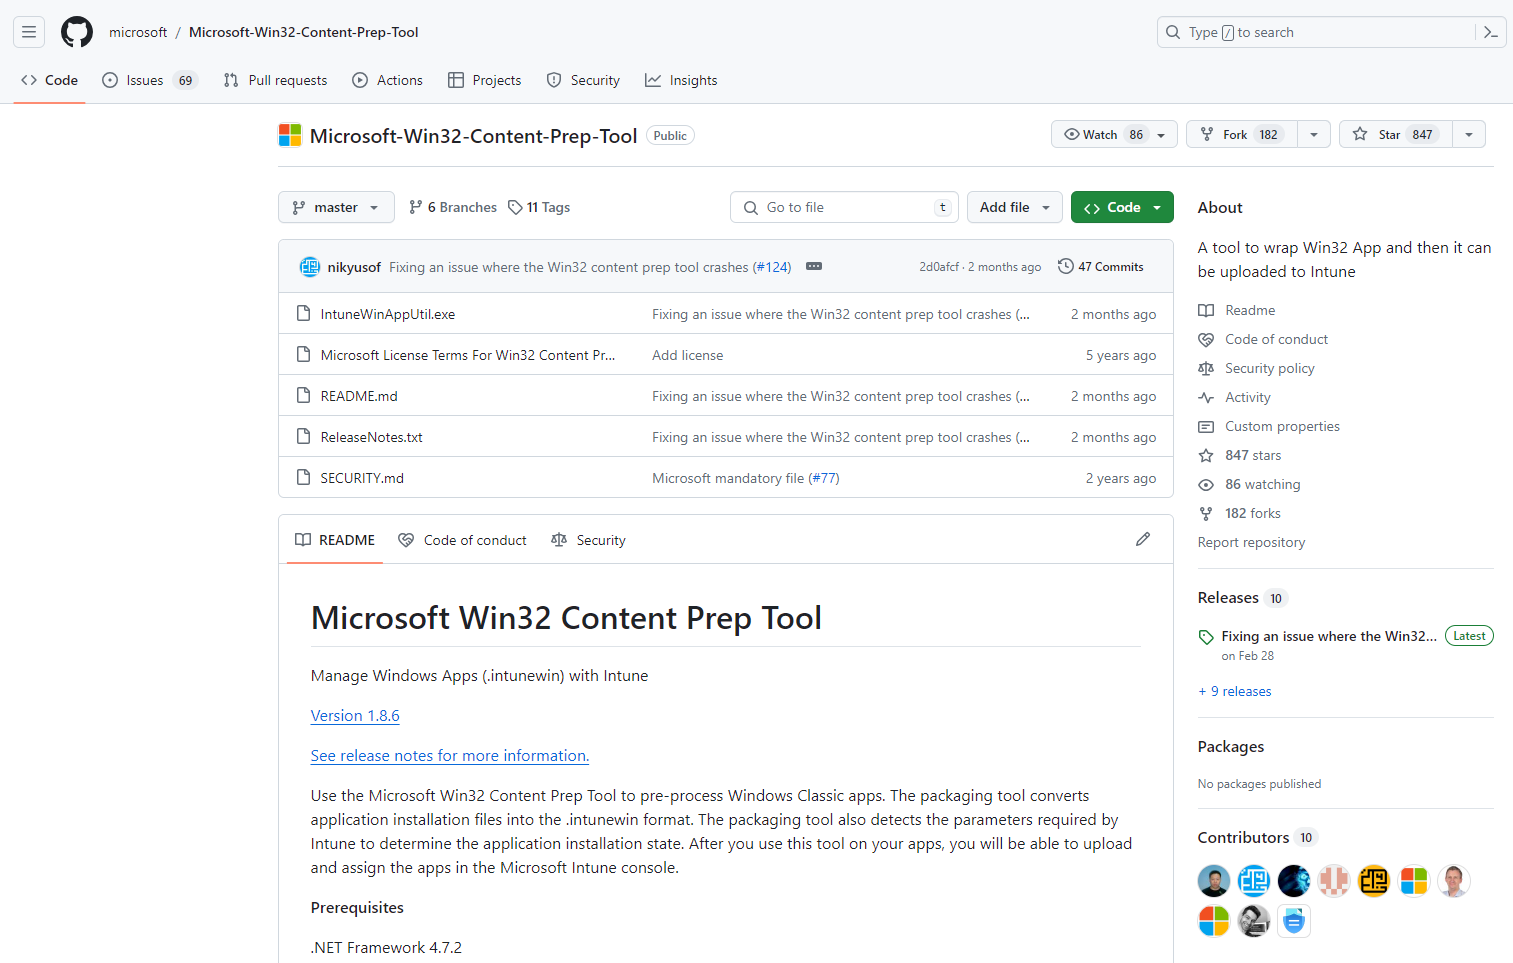
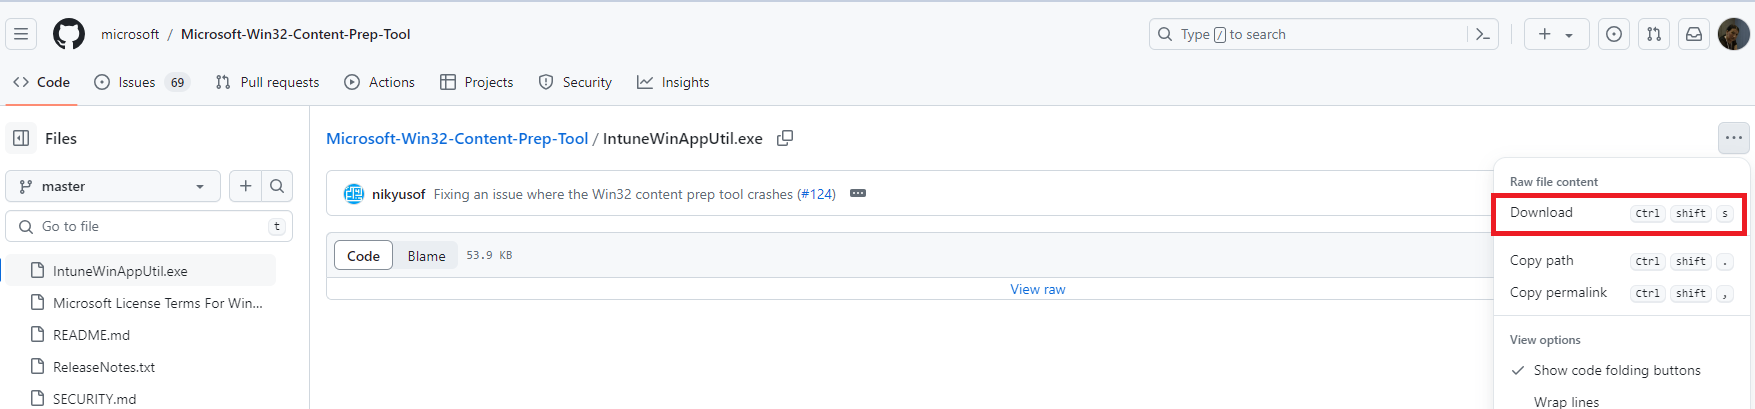
Click on IntuneWinAppUtil.exe file to download the Win32 Content Prep Tool. You will be prompted to a different page where you need to click the 3 dots in the right corner followed by Download.
After downloading the file you can create a dedicated folder, such as Microsoft Win32 Content Prep, and within it, create 2 subfolders: Source and Output for better management of the original and converted files.

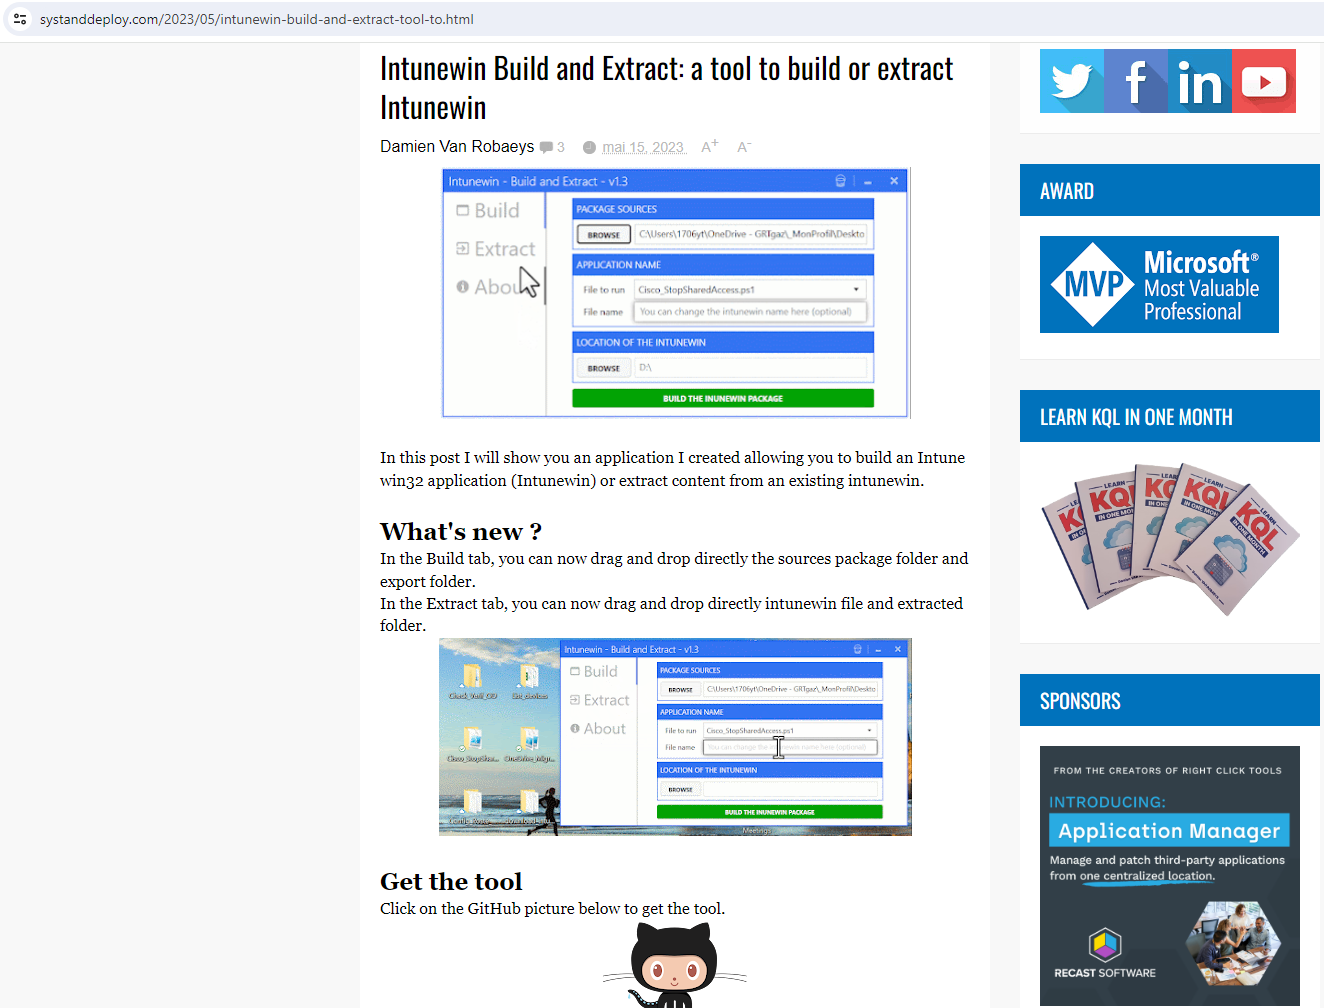
Note: It is also possible to download the graphical version of this tool. The tool can be downloaded from the Github of the author of both tools – Damien Van Robaeys.
The graphical version can give False Trojan/Virus detection. More about this version of this app you can read here.
Download application files
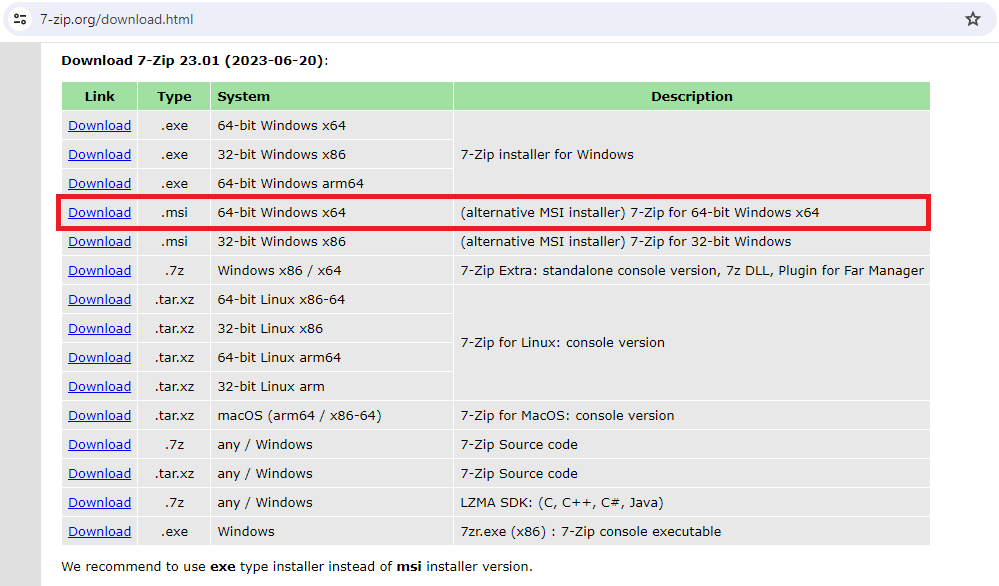
For this demo, I will use 7-zip, a very popular app. I will head over to https://www.7-zip.org/download.html –> 7-zip 23.01 (2023-06-20) and click Download link near .msi 64-bit Windows x64 file. Of course, we can also use other formats as well.
Move the file into Microsoft Win32 Content Prep\Source folder.

Converting .msi file into .intunewin format
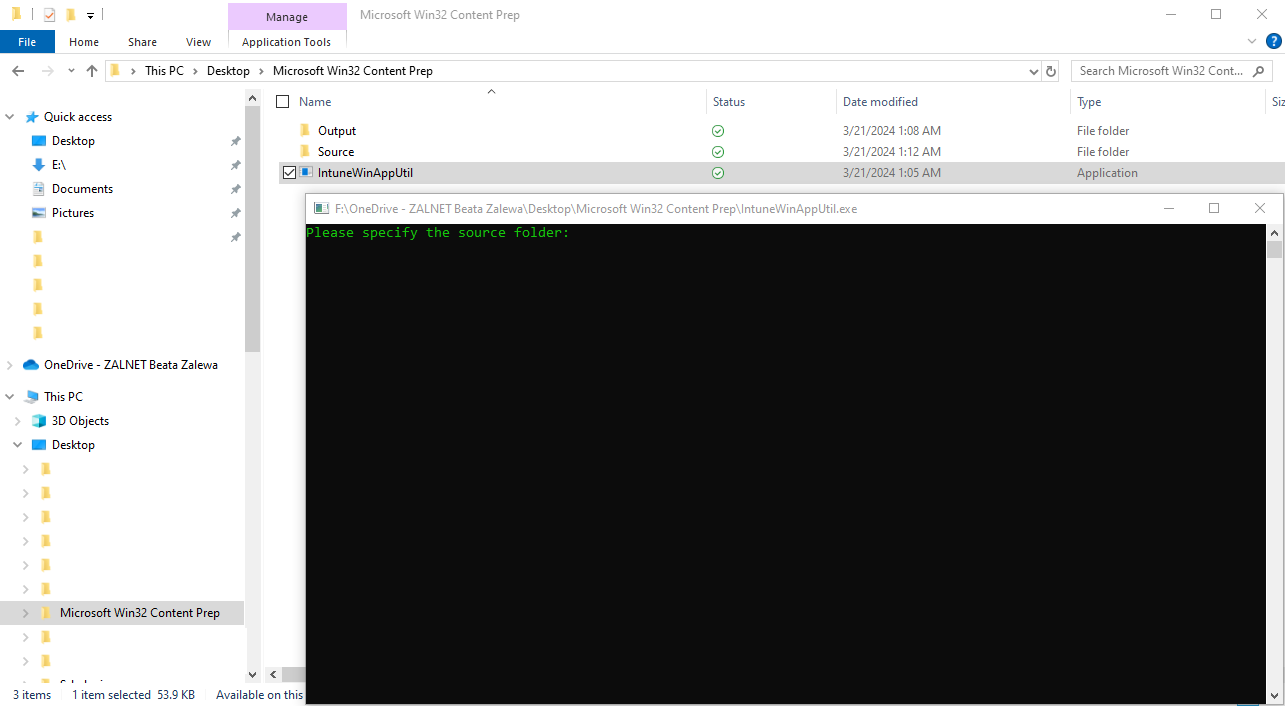
Run the IntuneWinAppUtil tool. The app can be run be double click the IntuneWinAppUtil.exe file and the view is a similar to Command Prompt.
We can also run this app using PowerShell.
Specify the path for Source folder, where the .msi/exe application file is located.
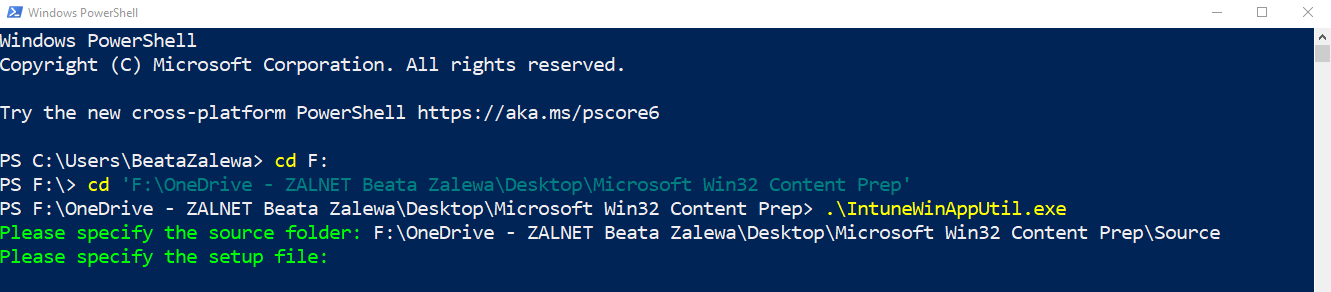
Specify the setup file – .msi file for 7-zip from the Source folder.
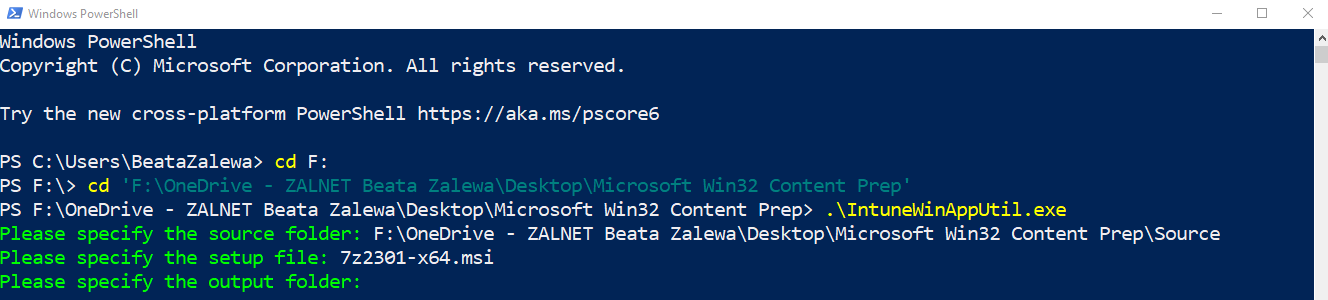
Specify the path for Output folder, where the .intunewin file will be saved.
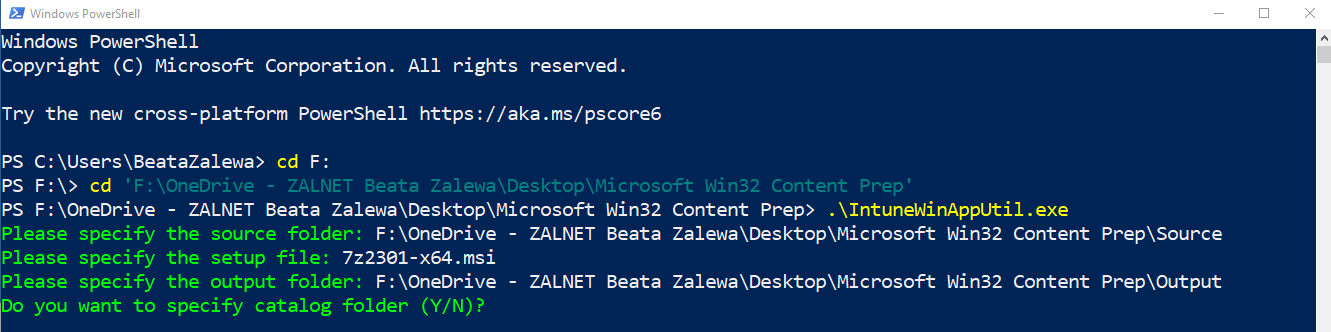
Choose whether to specify a catalog folder (unless you want to specify a catalog folder, select N).

Now you can sit comfortably with a cup of delicious coffee in your hand and wait until the application does all the work for you and prepares the .intunewin file.
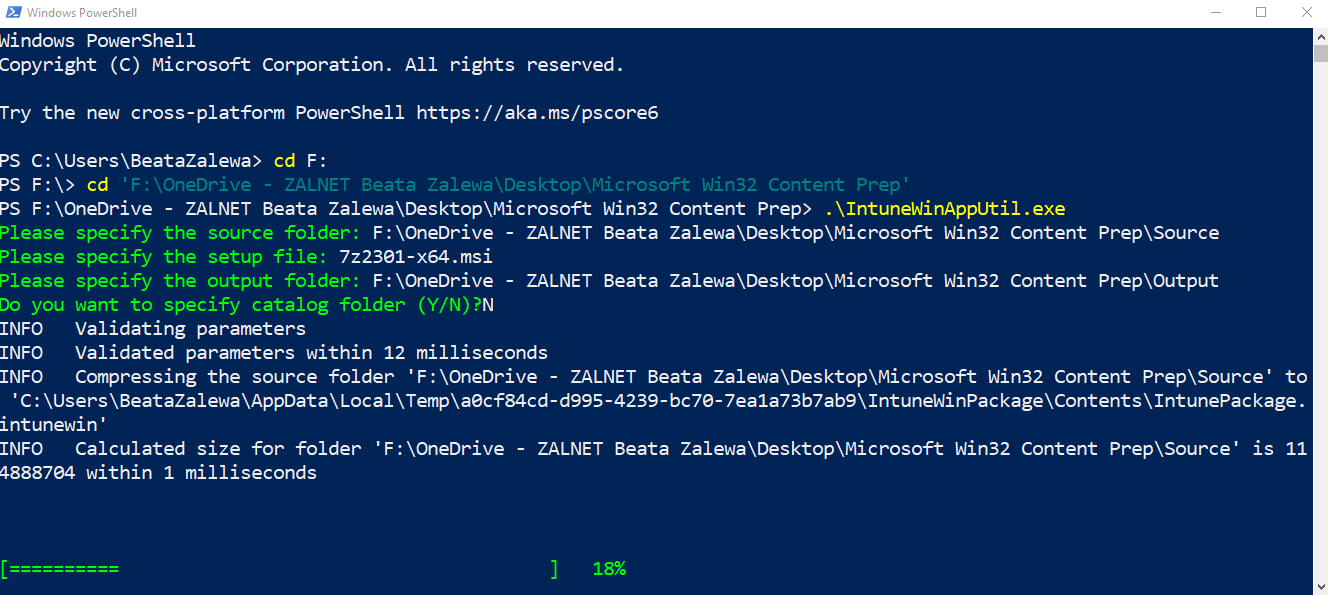
Our .intunewin file is ready to deploy into Microsoft Intune.

Deploying the .intunewin file into Microsoft Intune
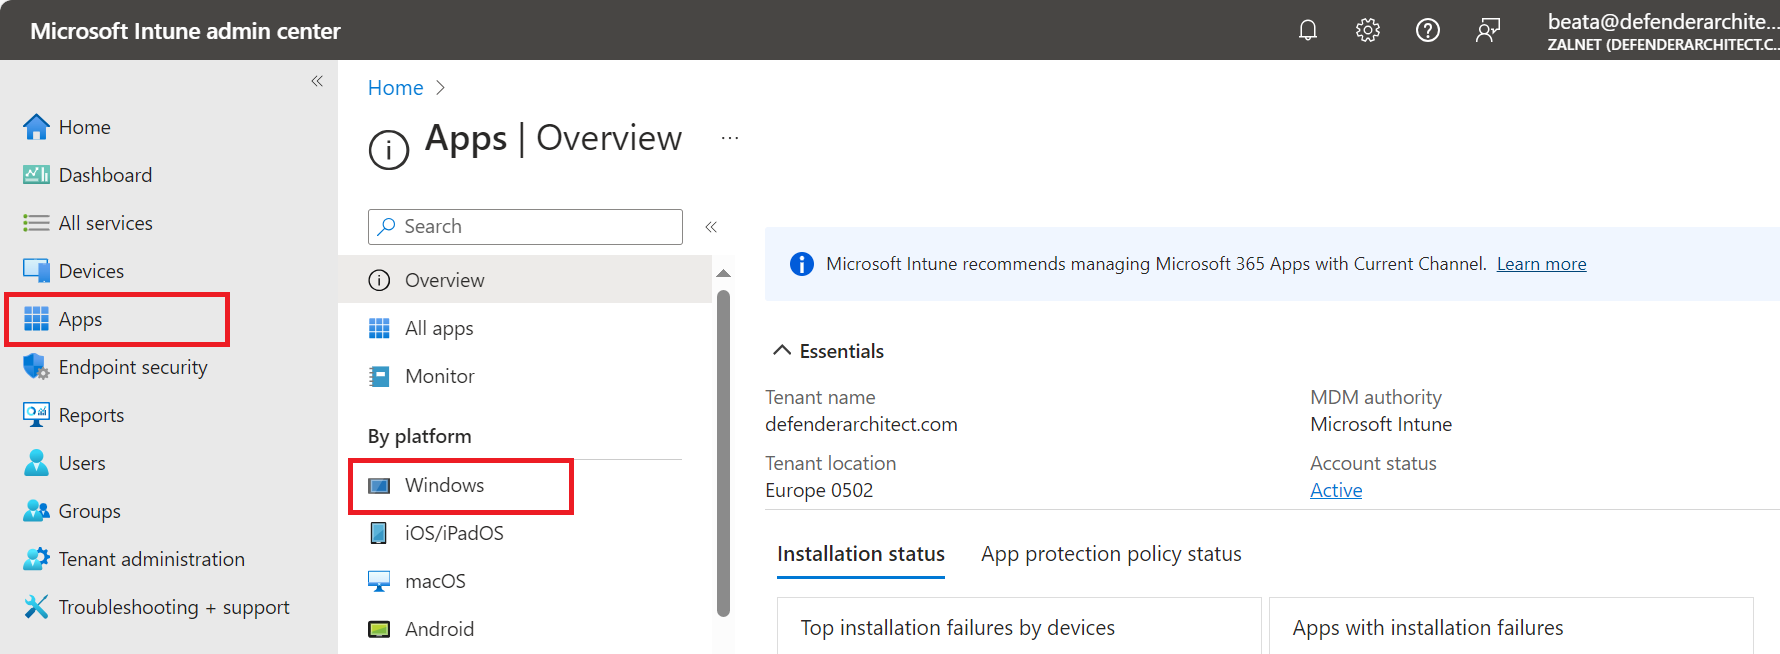
In the Microsoft Intune admin center go to Apps –> Windows.
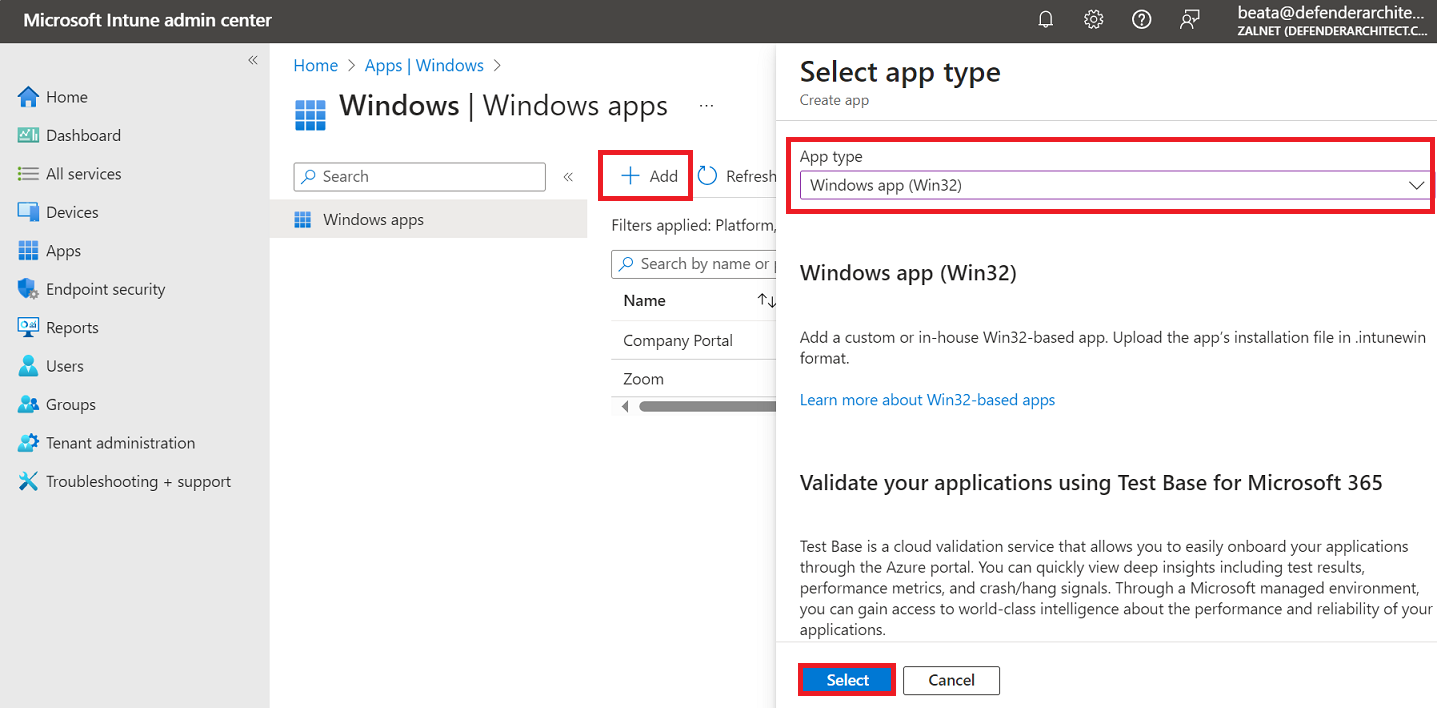
In the Windows apps window click + Add. From App type dropdown list select Windows app (Win32). Then click Select.
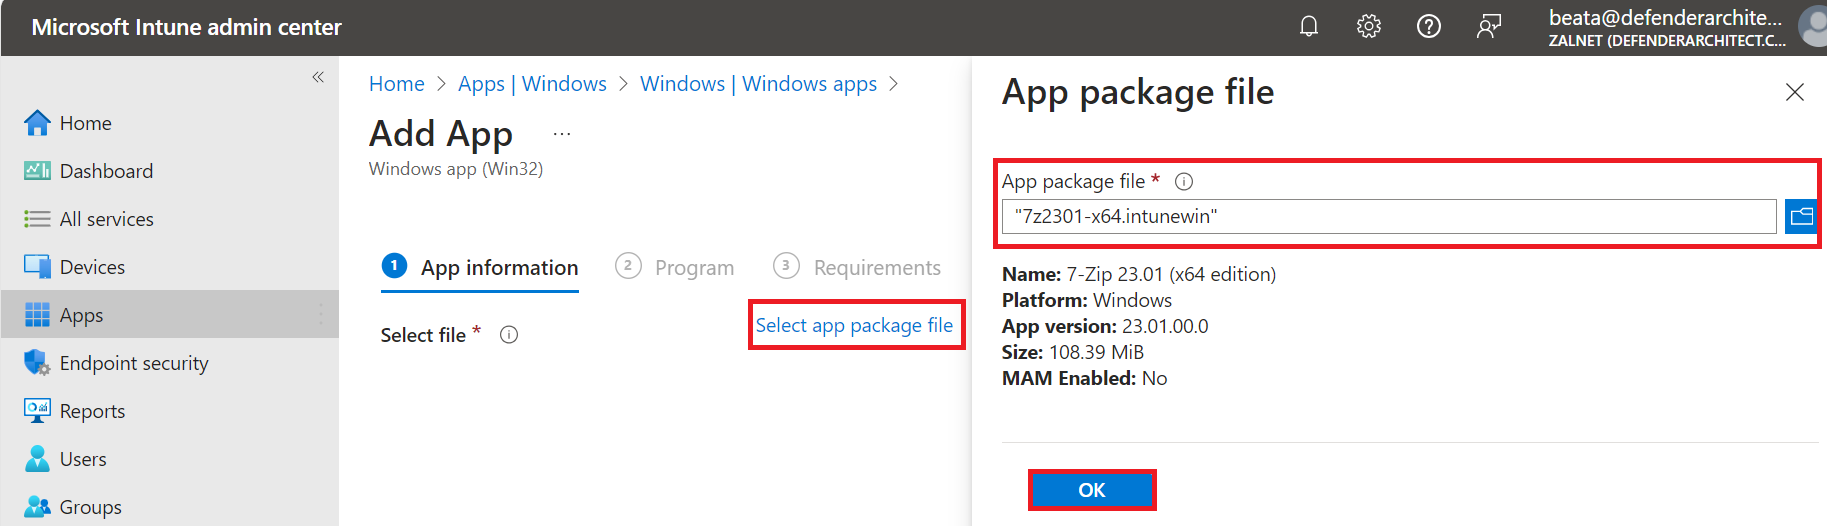
In the Add app window, click on Select app package file to select the intunewin file in the Output folder. In this case, select the 7z2301-x64.intunewin file. After uploading the file, you will see some information including the name of the app, the version, and other useful information. Click OK.
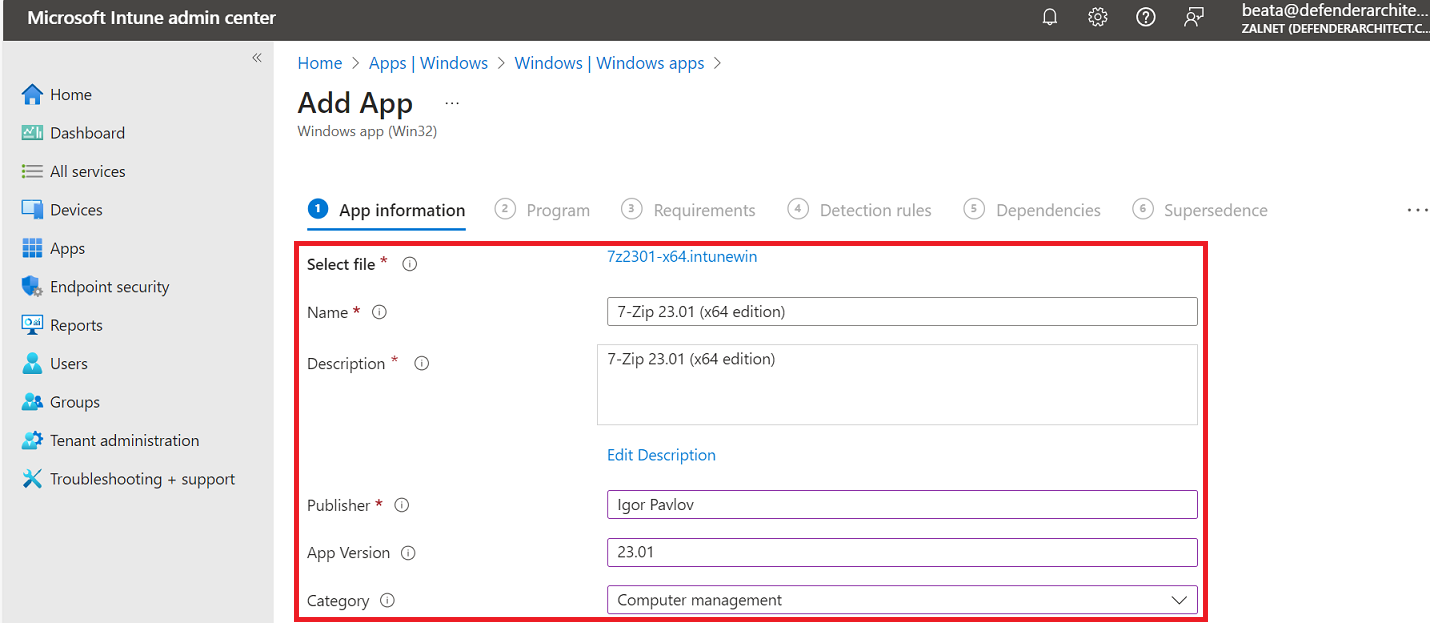
Once you press OK, you will be redirected to App information tab and make a few adjustments. Provide a proper name and description. Type publisher name, app version, choose category/categories.
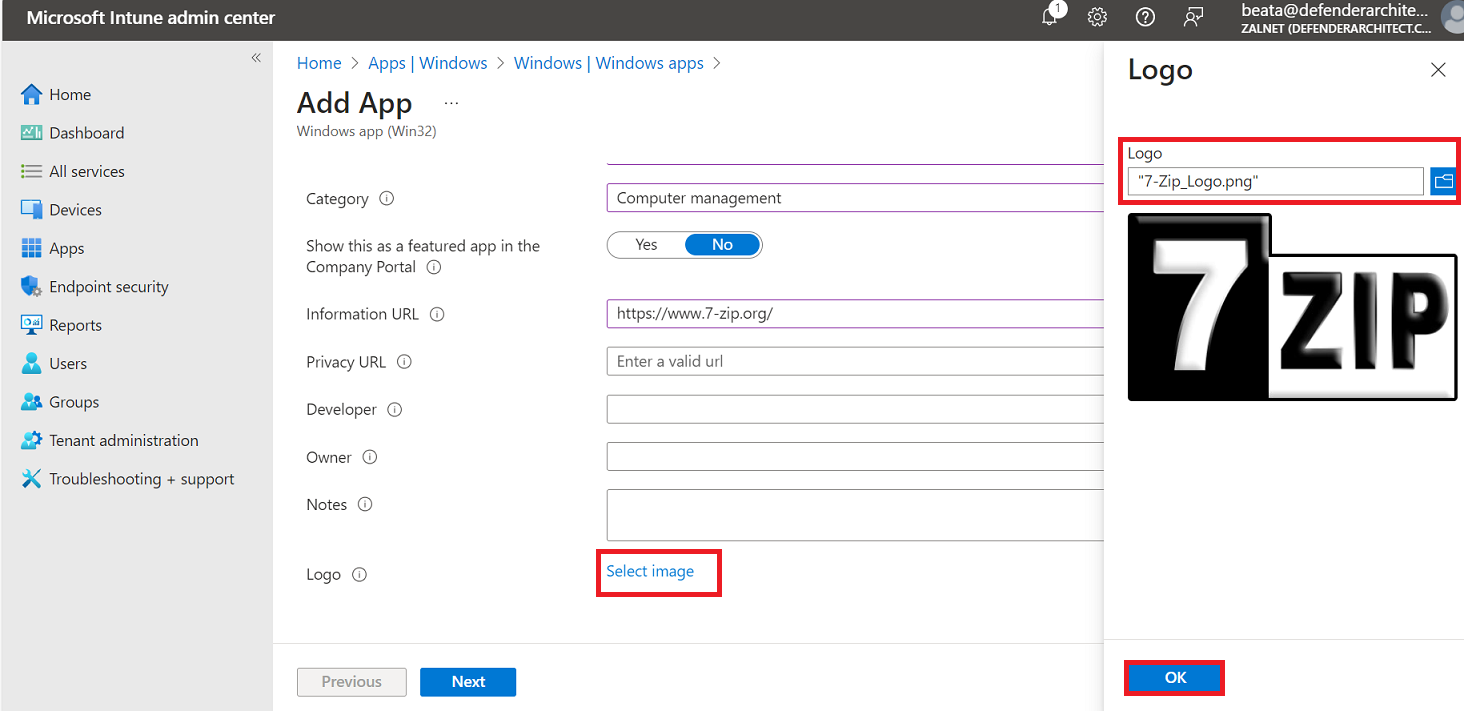
To add a logo click Select image link. Choose logo file. Click OK.
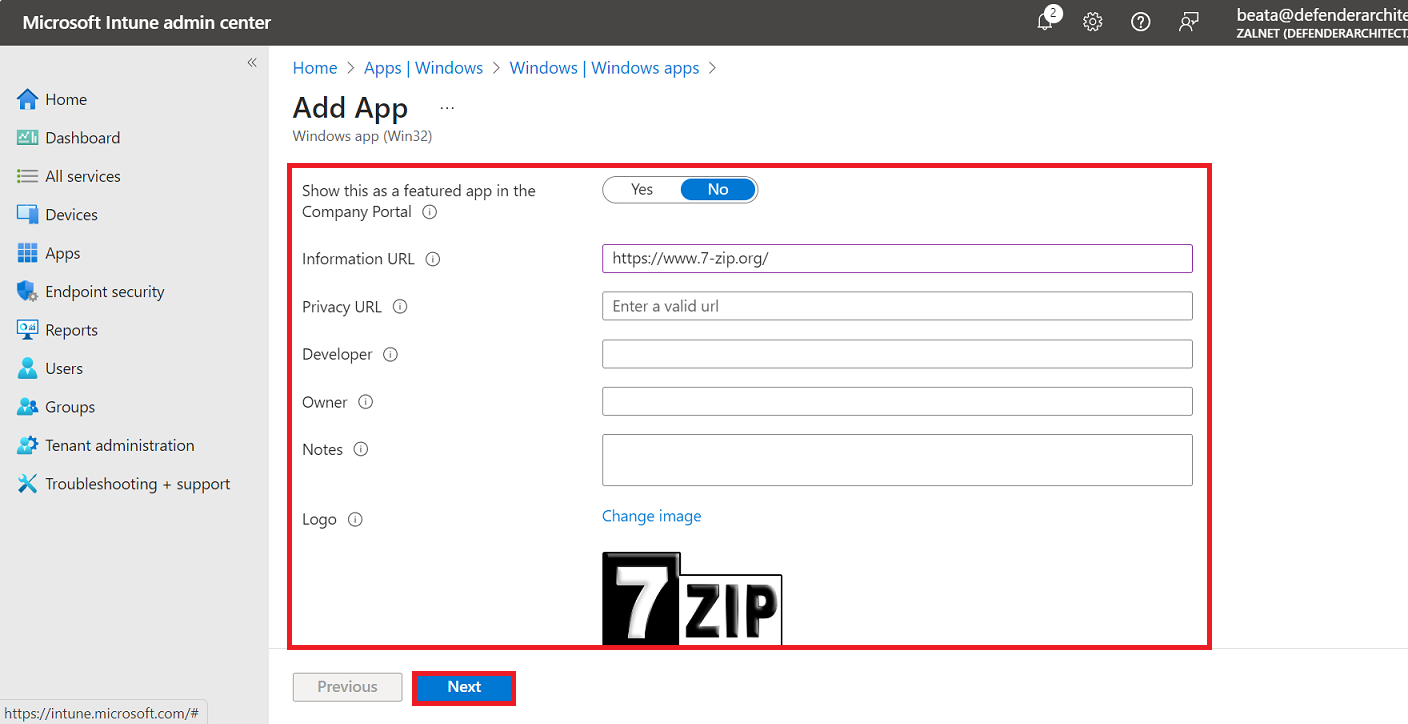
Provide information URL and other needed data. Click Next
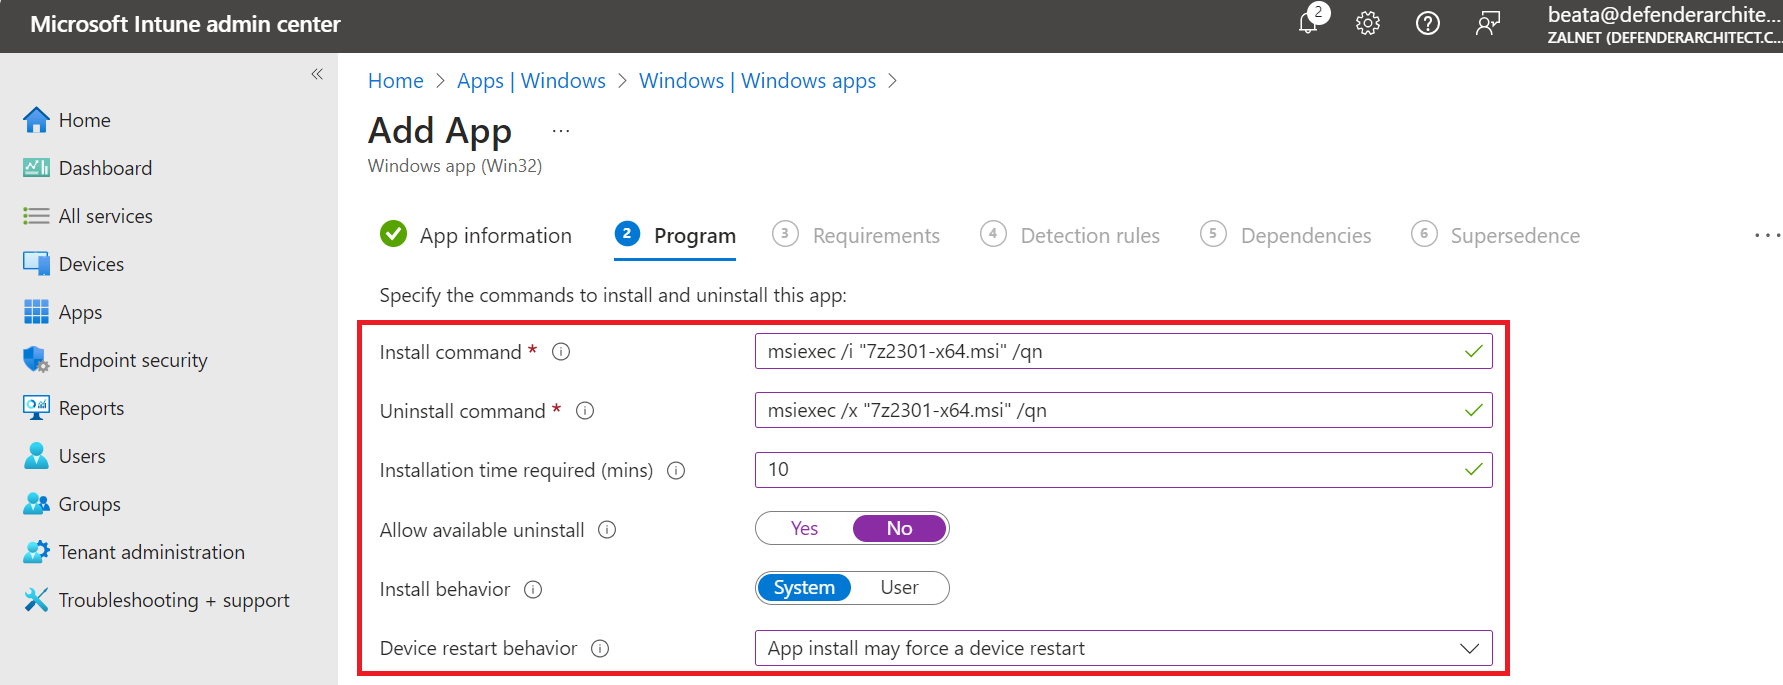
In the Program tab provide the following information:
- Install command (installation command line used to install app): msiexec /i “7z2301-x64.msi” /qn
- Uninstall command (command used to uninstall the app): msiexec /x “7z2301-x64.msi” /qn
- Installation time required (mins): 10 (default value: 60)
- Allow available uninstall (Click Yes to allow users from uninstalling the app in the company portal): No
- Install behavior (If you select System this app will be installed for all users on a device. If you select User, the app will be installed for the user that is logged in): System
- Device restart behavior (You can choose the behavior of the device once the application has successfully downloaded): App install may force a device restart
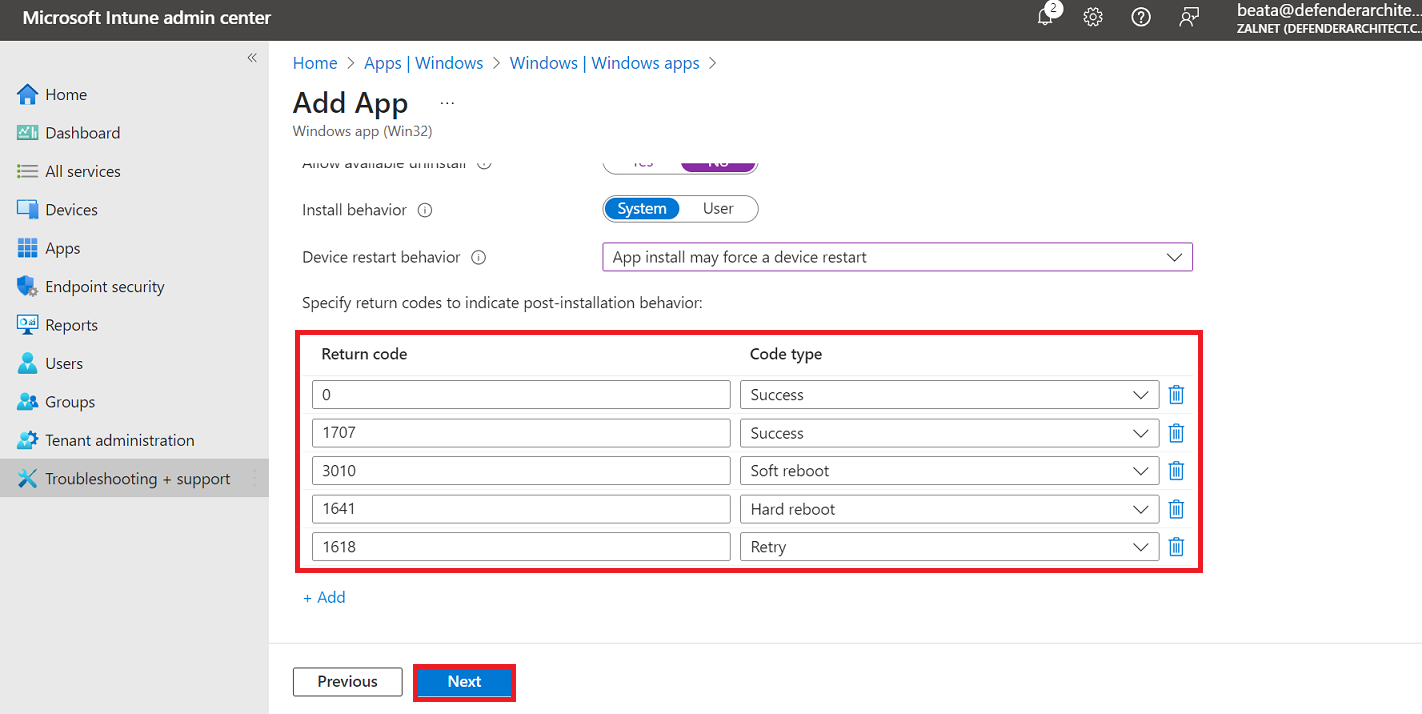
- Check the returned codes
- Click Next.
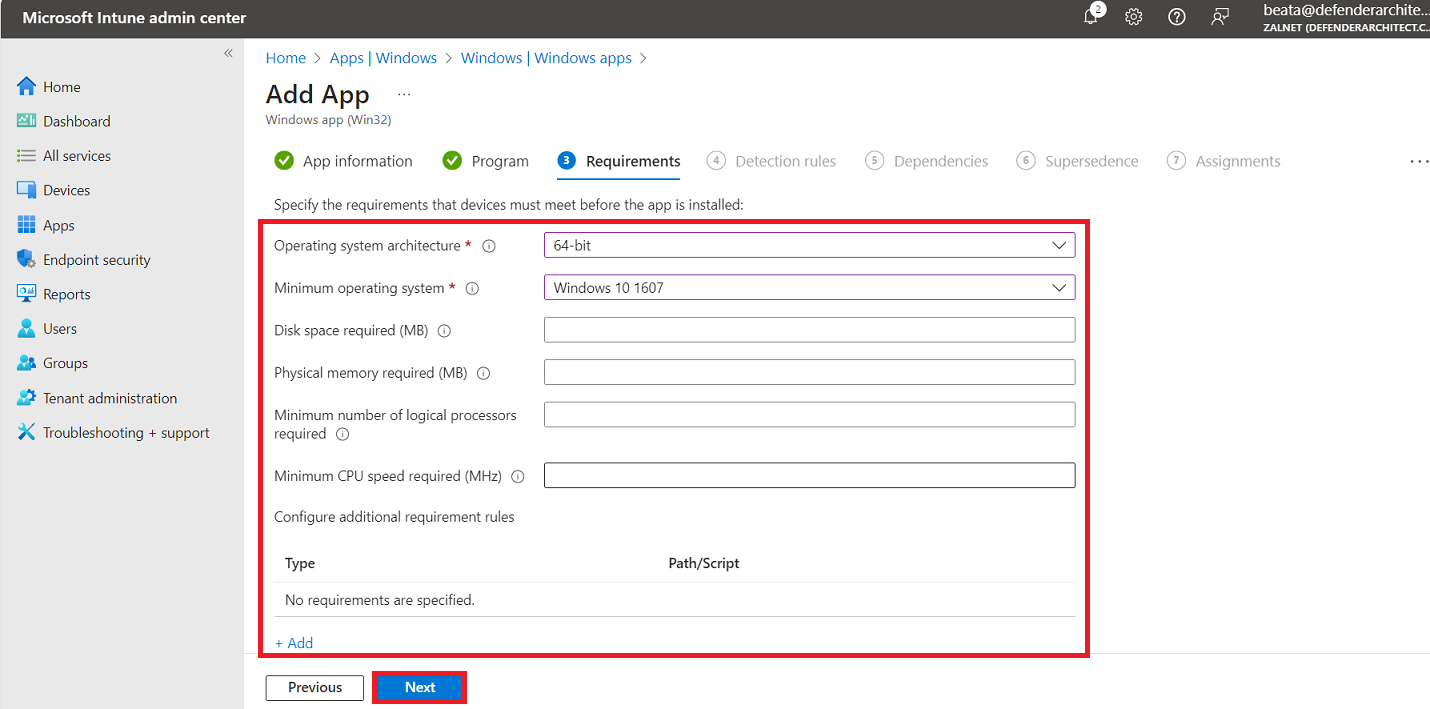
In the Requirements tab, specify the rules for the app to be installed on the device.
- Operating system architecture: 64-bit
- Minimum operating system: Windows 10 1607
- Disk space required (MB): None
- Physical memory required (MB): None
- Minimum number of logical processors required: None
- Minimum CPU speed required (MHz): None
- Configure additional requirement rules: None
Click Next.
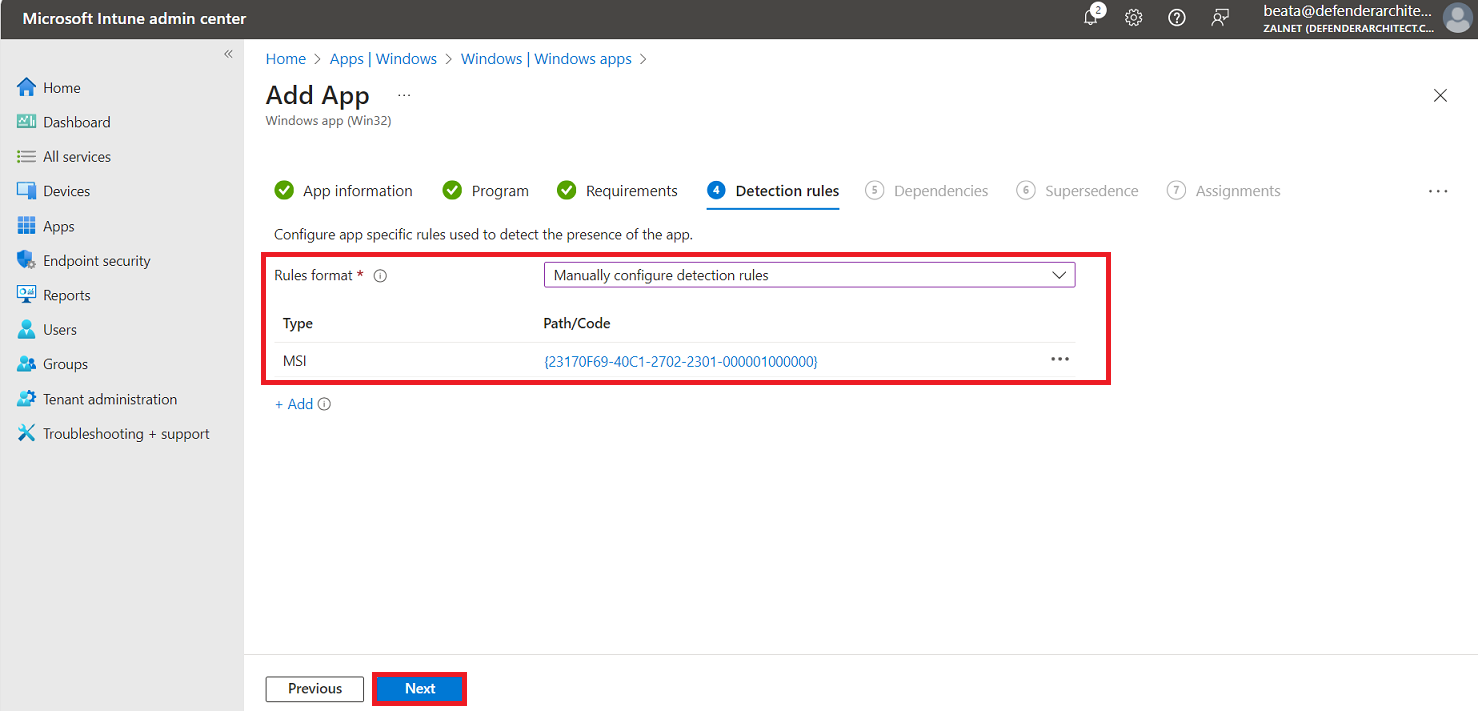
The Detection rules allow us to check the device to see whether the application being deployed is already on that device or not. If the application version is already on that device, it will not install. However, if nothing is detected it will go ahead and deploy. There are two options: one is to Manually configure detection rules and the other is to use a custom detection script. In this post we will use Manually configure detection rules.
Click Add to add new rule. In the Detection rule window type the following values:
- There are 3 rule types to choose from: MSI, File, and Registry. Since we used an MSI package, it will automatically populate the MSI product code, so we will choose MSI. Then click OK.
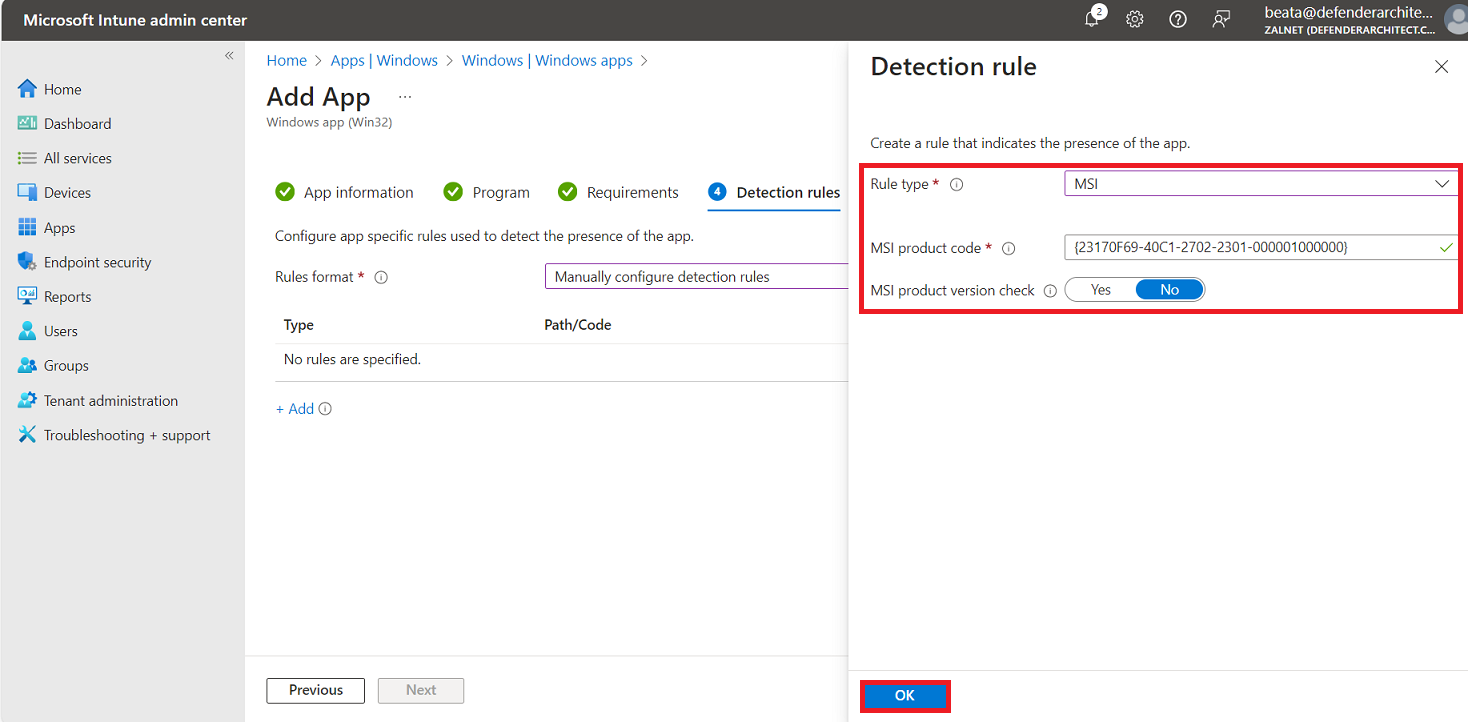
Click Next.
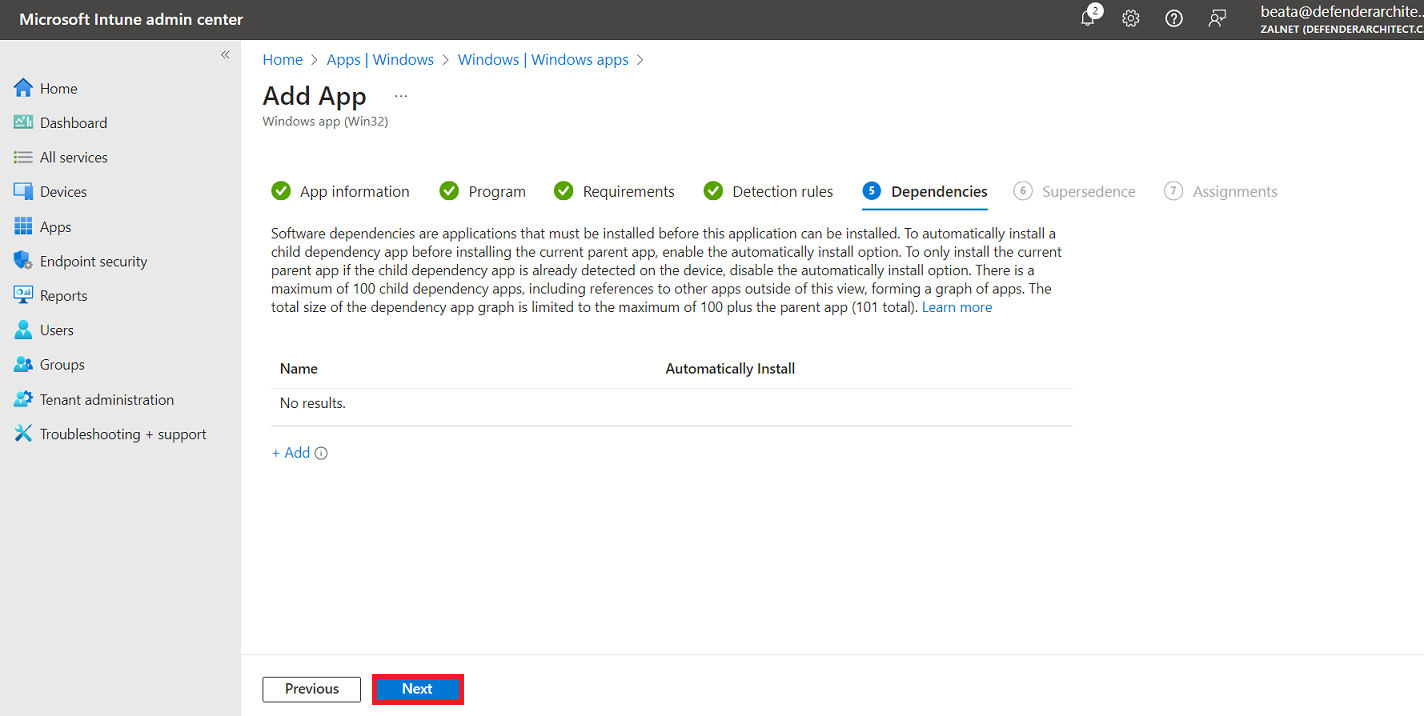
In the next tab named Dependencies we can add apps that might need to be paired together for this application to be installed. In this case 7-zip has no dependencies. Click Next.
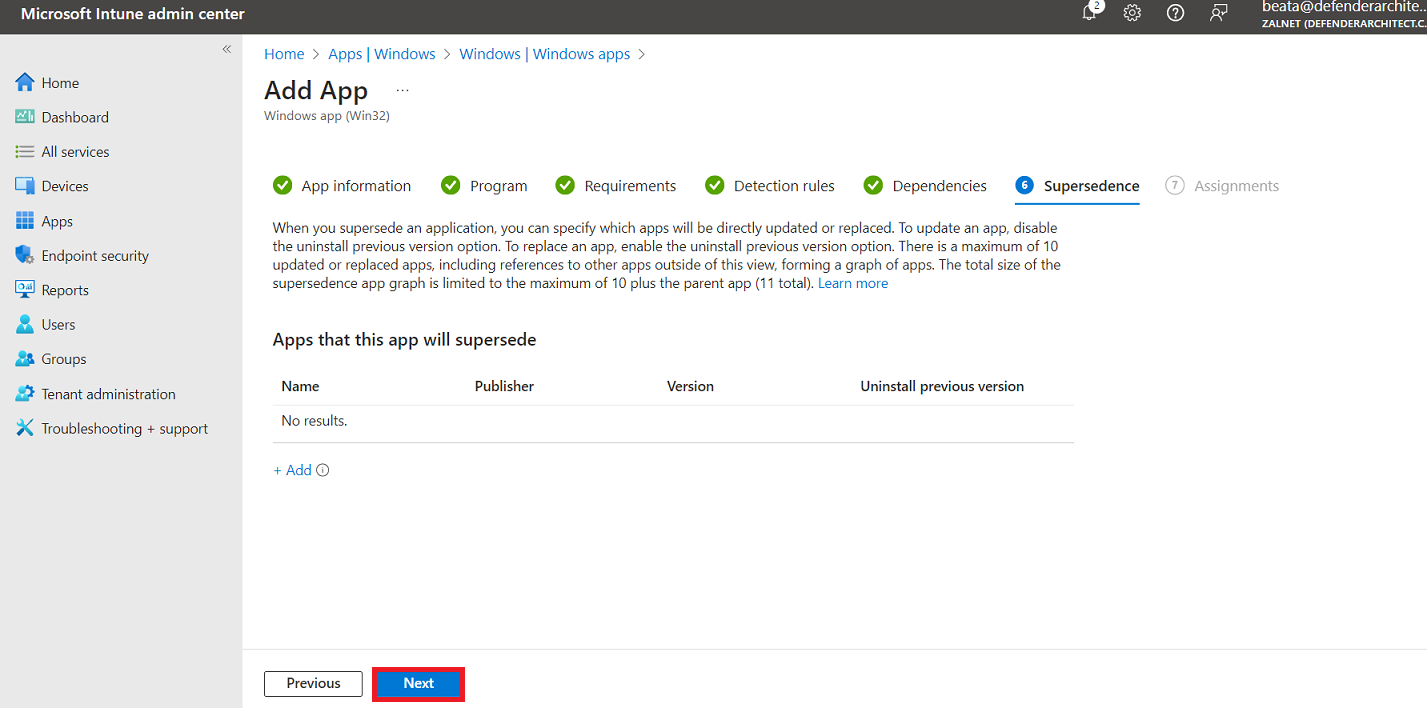
Next tab – Supersedence – enables the company to specify which apps will be either updated or replaced.
Note: If you want to update an app, disable the Uninstall previous version option. If you want to replace an app enable that choice. In this case, there is nothing under Supersedence. Click Next.
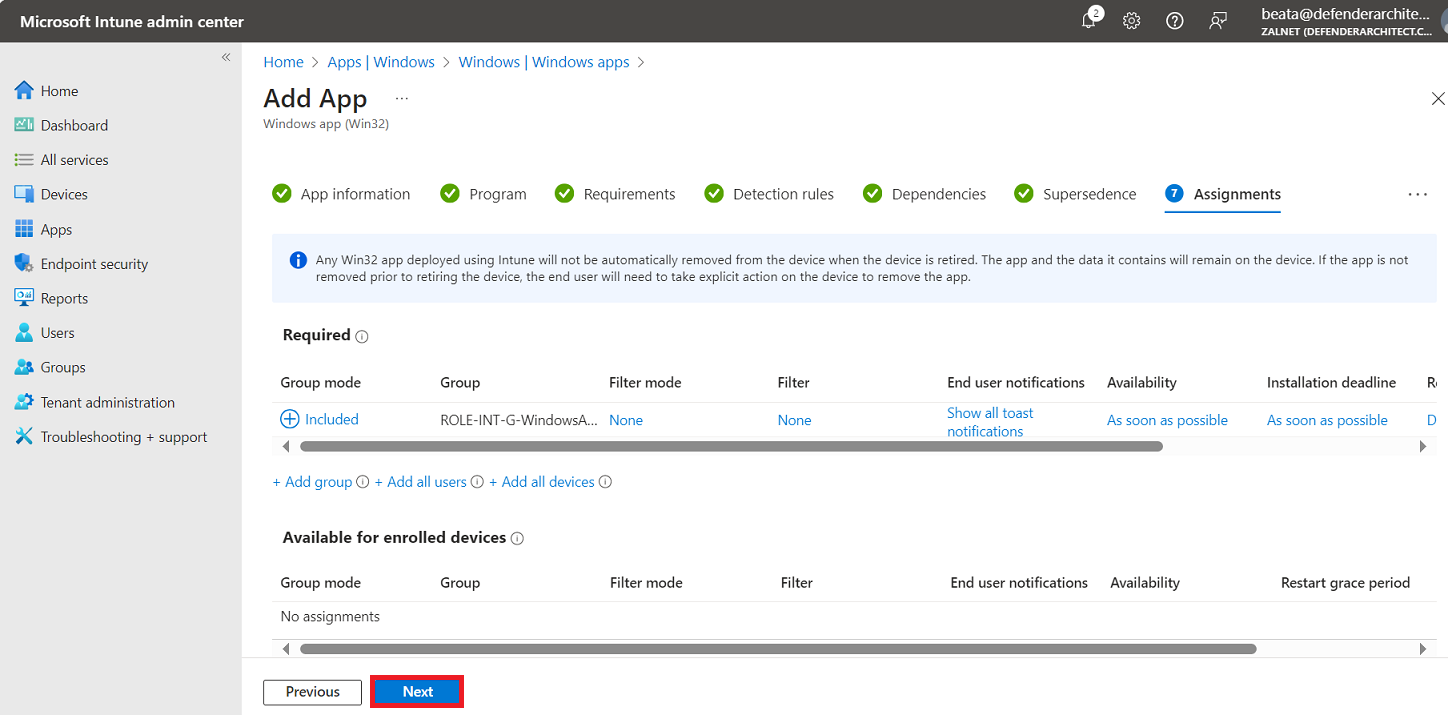
In the Assignments tab we need to decide who will get this application. It is always highly recommended to test the app with a pilot group before deploying to a wide set of users. Under Required click Add group. Choose group(s). Click Select.
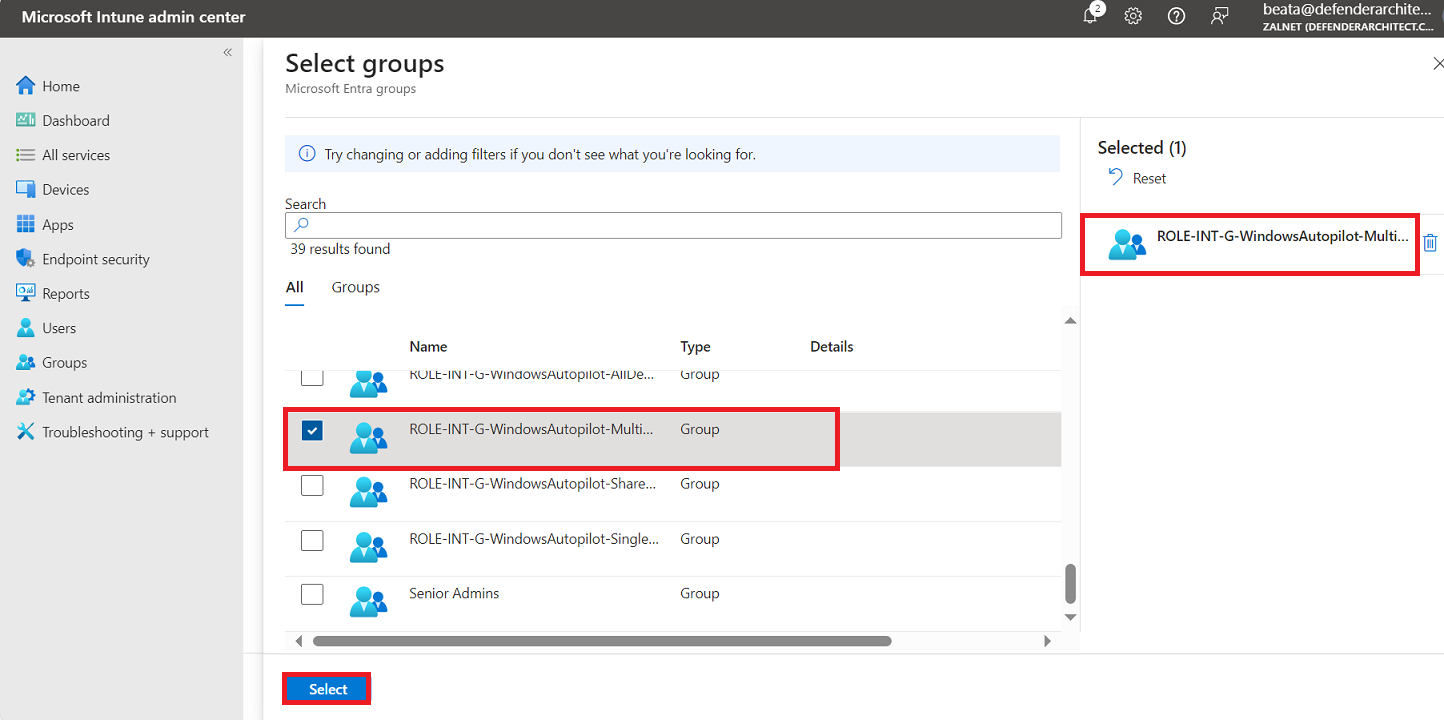
Click Next.
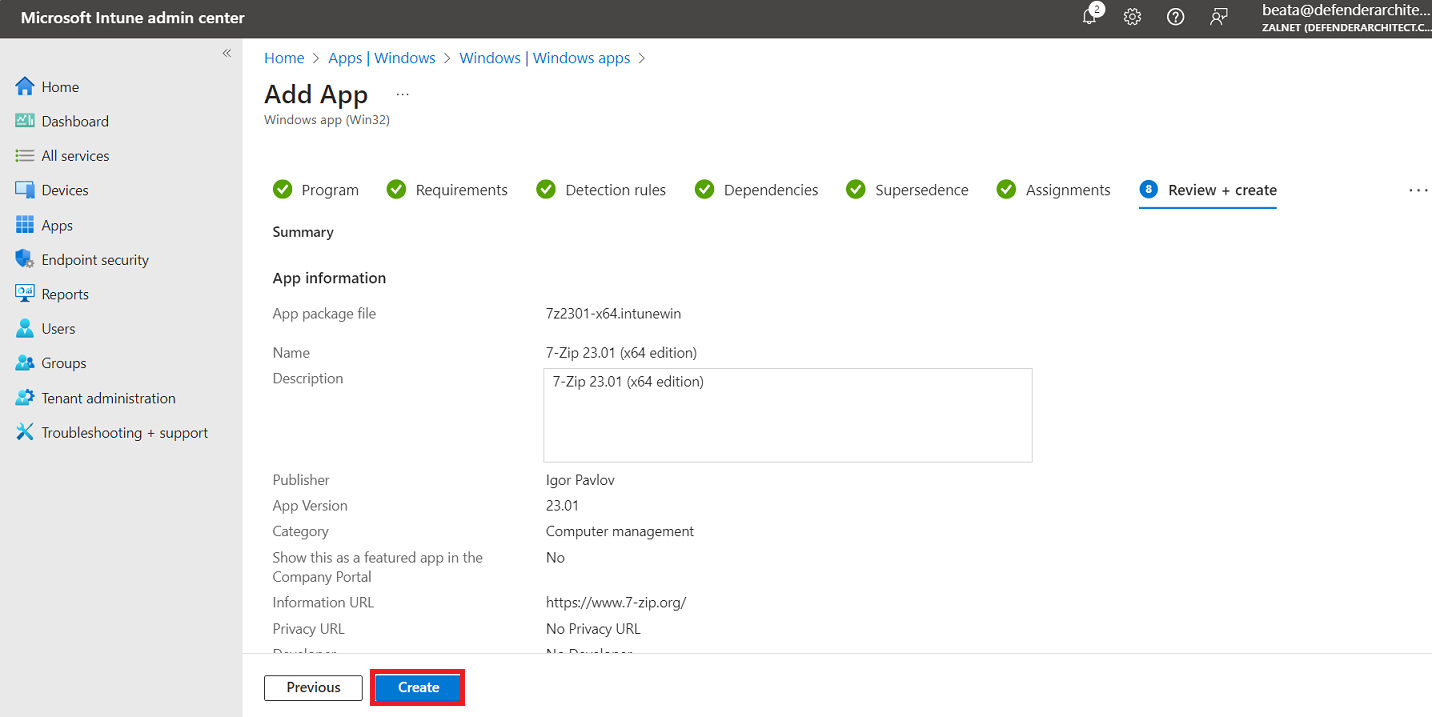
In the Review + create tab review the settings and click Create.
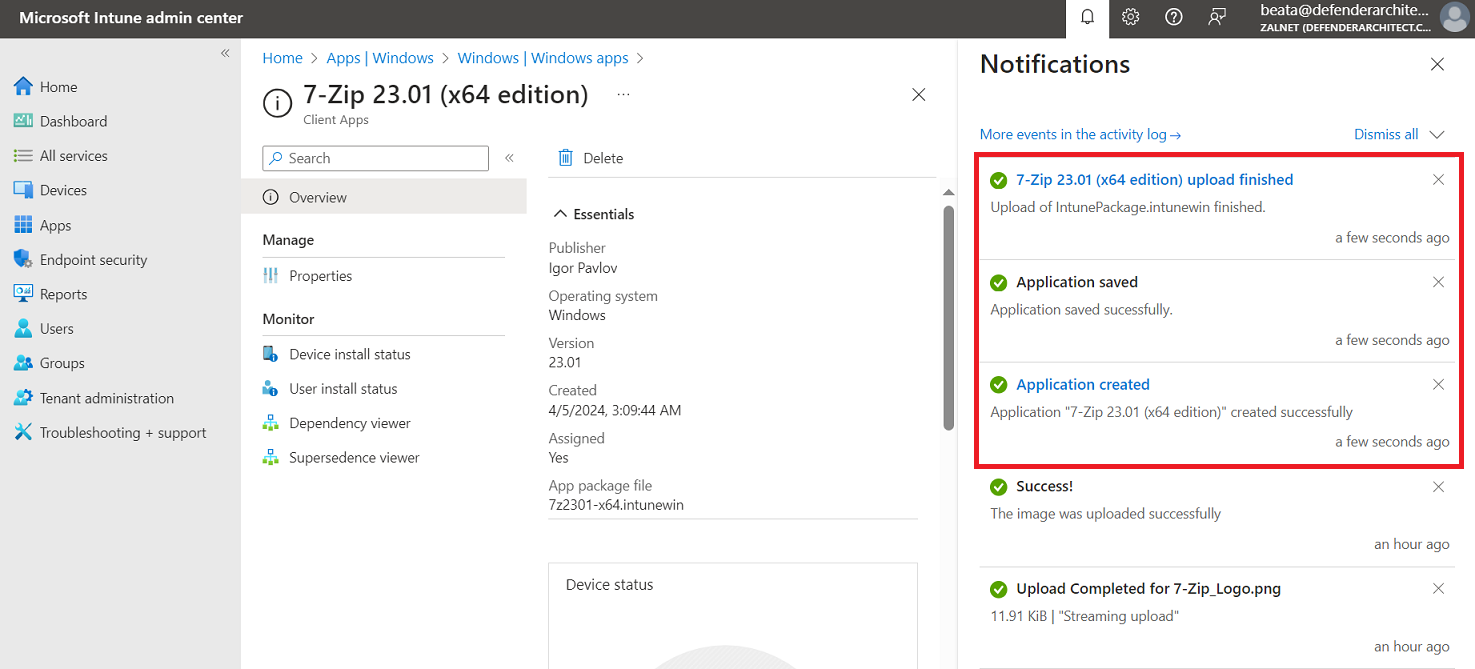
Let’s verify that the application was created successfully.