[ai_post_generator_toc]
Introduction
Before you can assign, monitor, configure, or protect apps, you must add them to Intune. One of the available app types is Microsoft 365 Apps for Windows 10/11 devices. By selecting this app type in Intune, you can assign and install Microsoft 365 Apps to devices you manage that run Windows 10/11.
Note: If there are .MSI Office apps on the end-user device, you must use the Remove MSI feature to safely uninstall these apps. Otherwise, the Intune delivered Microsoft 365 apps will fail to install. Multiple required or available app assignments are not additive. A later app assignment will overwrite pre-existing installed app assignments. More about prerequisites you can read here.
Add Microsoft 365 Apps
- Sign in to the Microsoft Intune admin center.
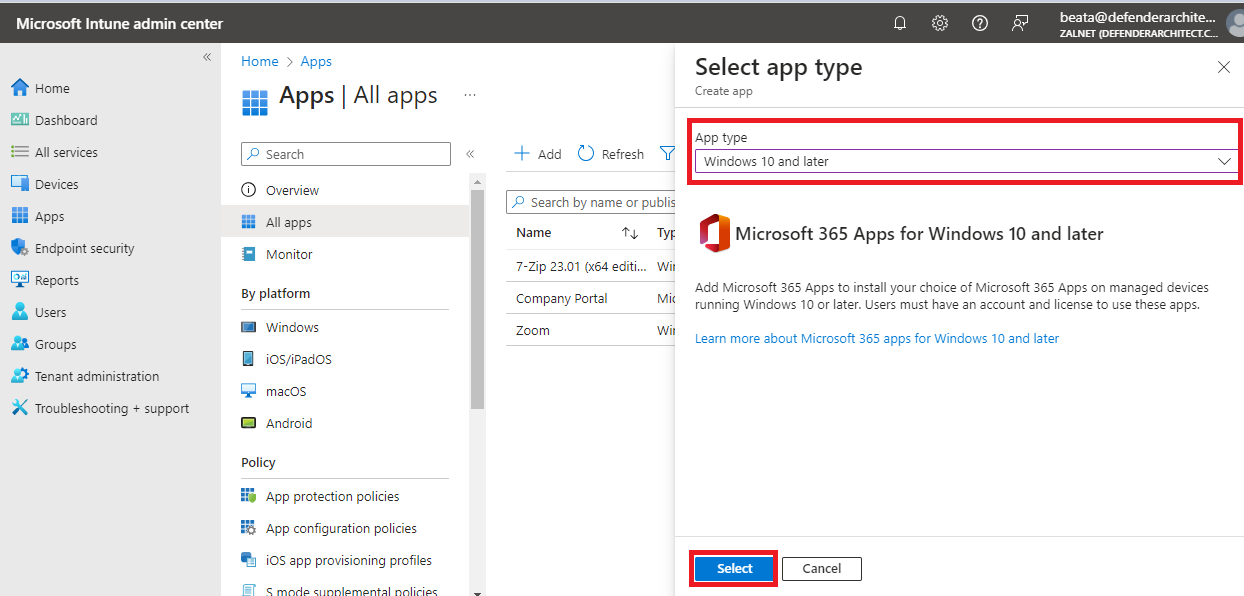
- Select Apps –> All apps –> Add.
- Select Windows 10 and later in the Microsoft 365 Apps section of the Select app type pane.
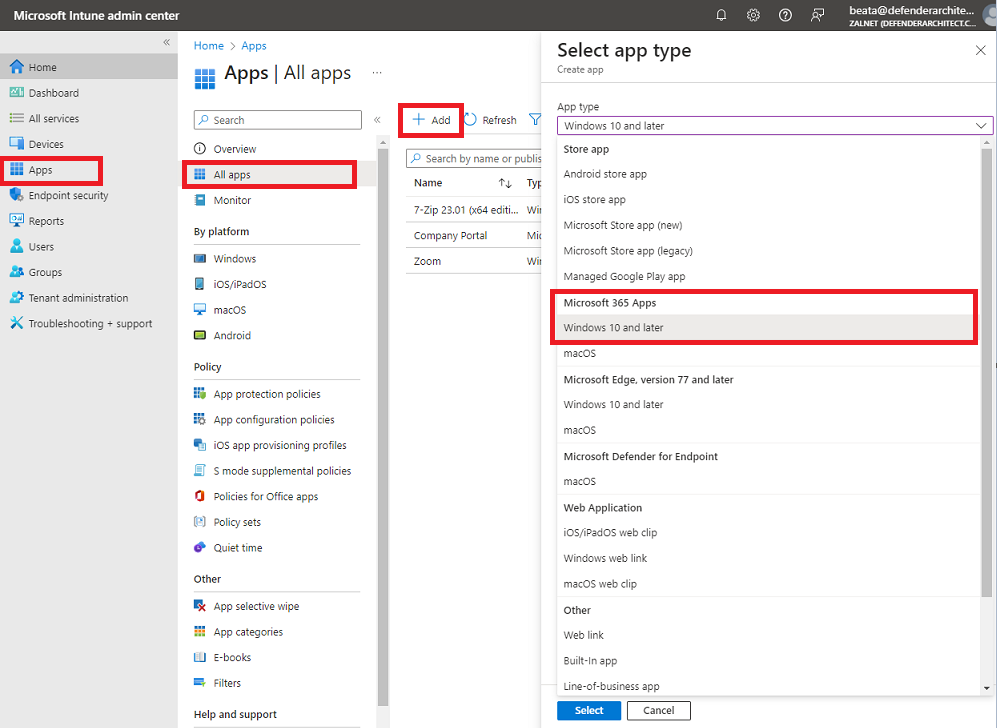
4. Click Select. The Add Microsoft 365 Apps windows is displayed.
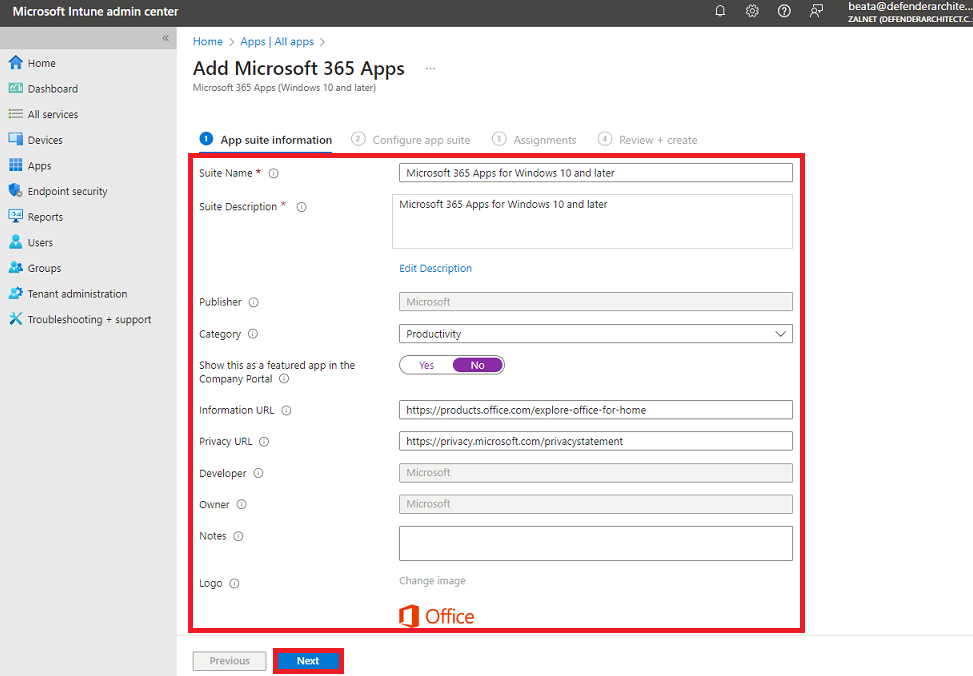
5. In the App suite information tab, you can confirm or modify the default values:
- Suite Name: Enter the name of the app suite as it is displayed in the company portal. Make sure that all suite names that you use are unique. If the same app suite name exists twice, only one of the apps is displayed to users in the company portal.
- Suite Description: Enter a description for the app suite. For example, you could list the apps you’ve selected to include.
- Publisher: Microsoft appears as the publisher.
- Category: Optionally, you can categorize the app to make it easier for users to sort and find in Company Portal. You can choose multiple categories.
- Show this as a featured app in the Company Portal: Select this option to display the app suite prominently on the main page of the company portal when users browse for apps.
- Information URL: Default URL of a website that contains information about these apps is already visible. This URL is displayed to users in the Company Portal.
- Privacy URL: Default URL of a website that contains privacy information for this app is already visible. The URL is displayed to users in the Company Portal.
- Developer: Microsoft appears as the developer.
- Owner: Microsoft appears as the owner.
- Notes: Enter any notes that you want to associate with this app.
6. Click Next to display the Configure app suite page.
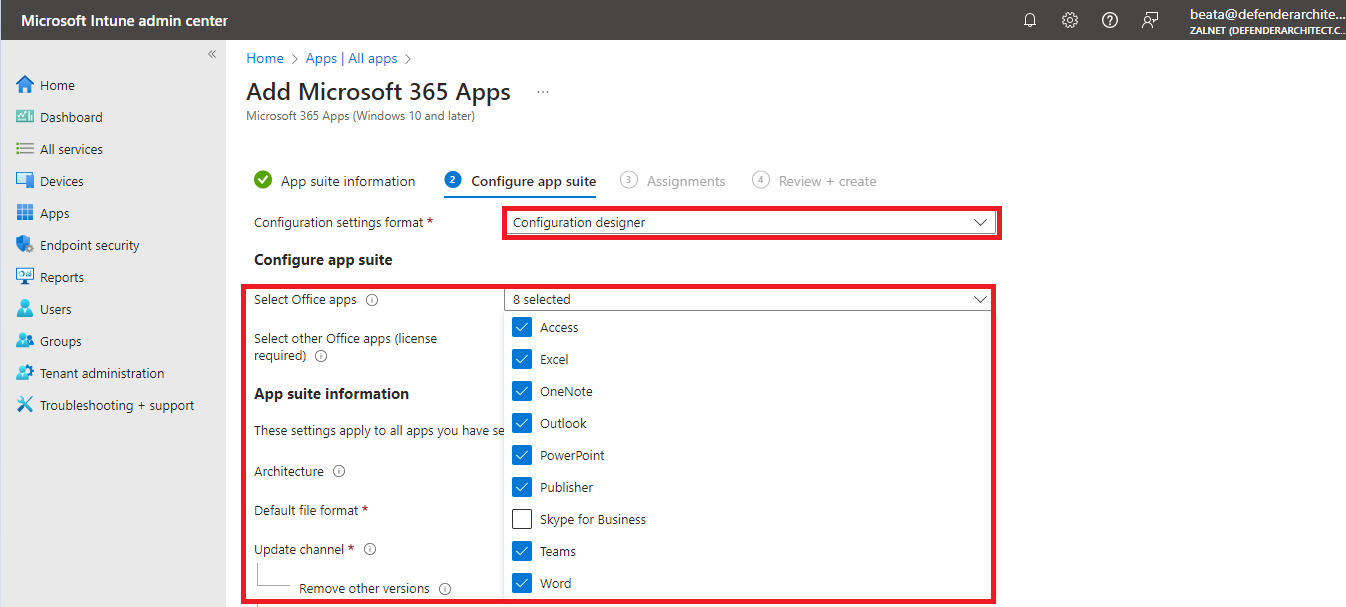
6. In the Configure app suite tab you can choose a method for configuring app setting by selecting a Configuration settings format. Setting format options include:
- Configuration designer
- Enter XML data
7. When you choose Configuration designer the Add app pane will change to offer three additional settings areas:
- Configure app suite
- App suite information
- Properties
8. Under Configure app suite choose the following:
- Select Office apps: Select the standard Office apps that you want to assign to devices by choosing the apps in the dropdown list.
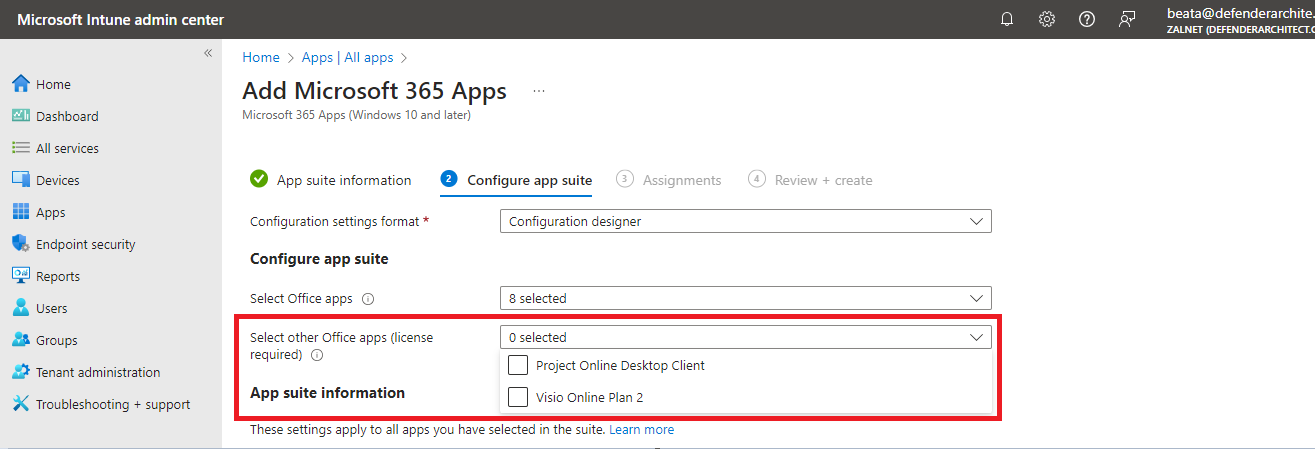
- Select other Office apps (license required): Select additional Office apps that you want to assign to devices and that you have licenses for by choosing the apps in the dropdown list. These apps include licensed apps, such as Microsoft Project Online desktop client and Microsoft Visio Online Plan 2.
9. Under Configure app suite choose the following:
- Architecture: Choose whether you want to assign the 32-bit or 64-bit version of Microsoft 365 Apps. You can install the 32-bit version on both 32-bit and 64-bit devices, but you can install the 64-bit version on 64-bit devices only.
- Default file format: Choose whether you want to use Office Open Document Format or Office Open XML Format.
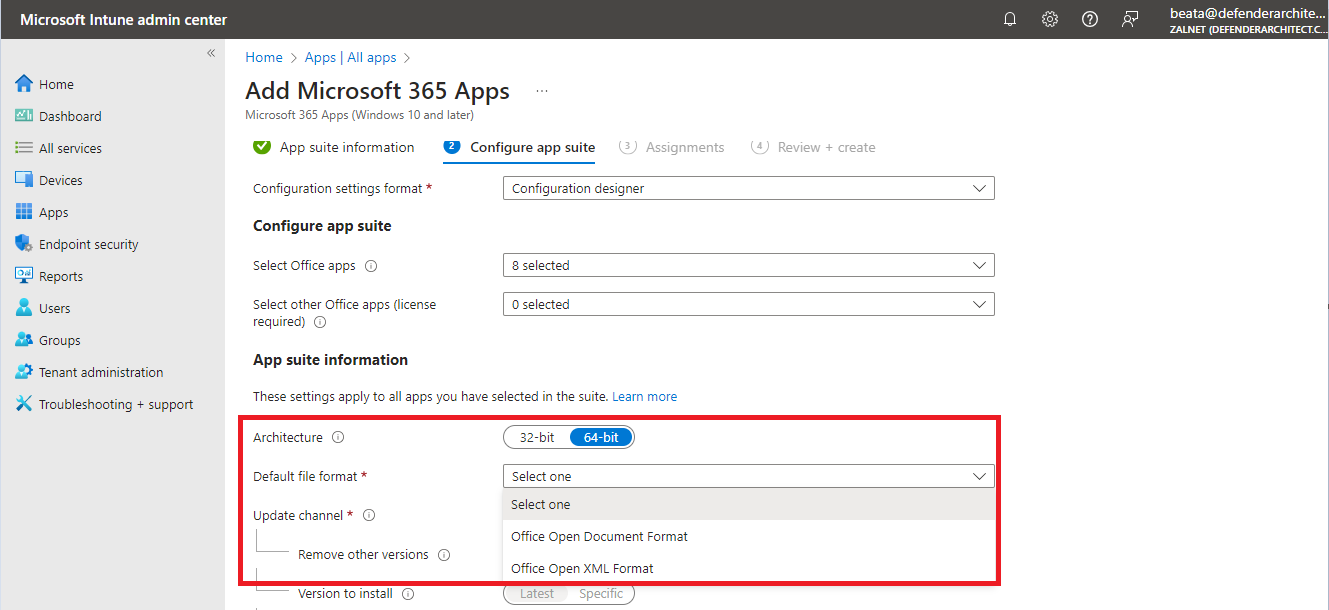
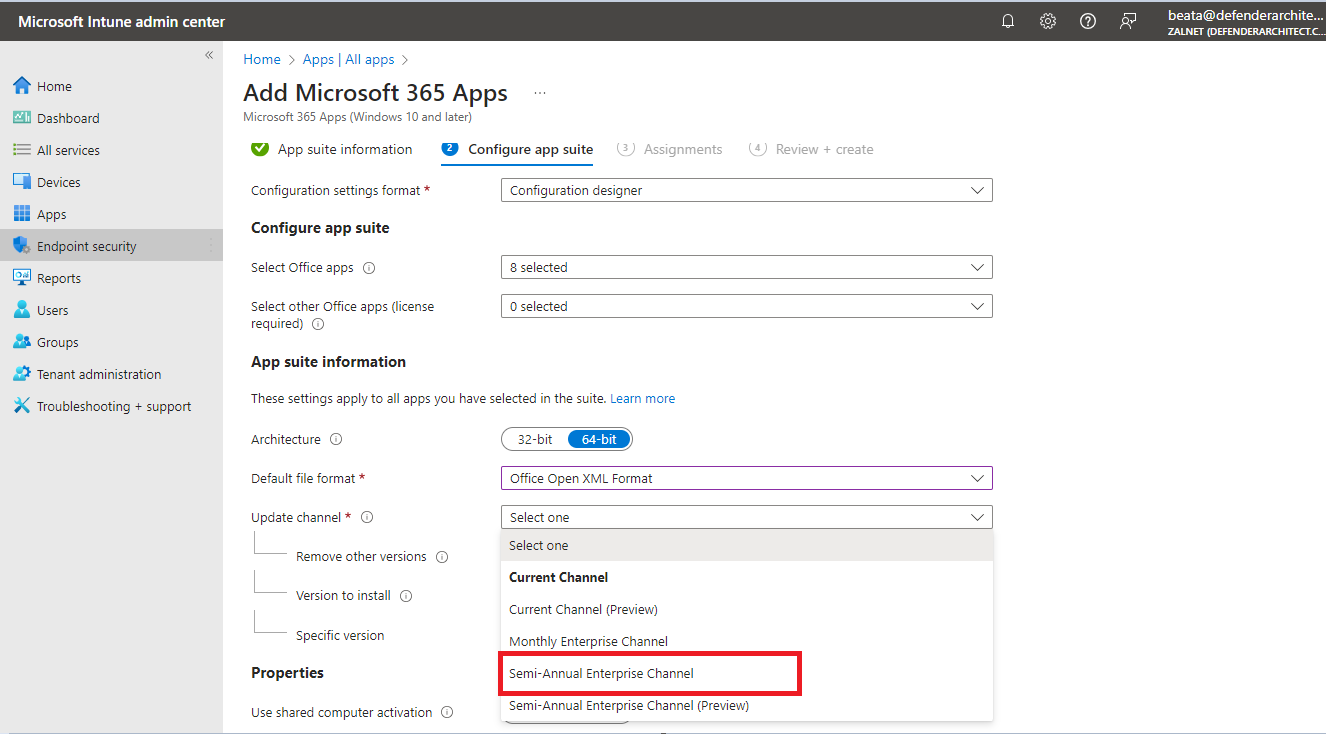
- Update Channel: Choose how Office is updated on devices. For information about the various update channels, see Overview of update channels for Microsoft 365 Apps for enterprise. Choose from:
- Current Channel
- Current Channel (Preview)
- Monthly Enterprise Channel
- Semi-Annual Enterprise Channel
- Semi-Annual Enterprise Channel (Preview)
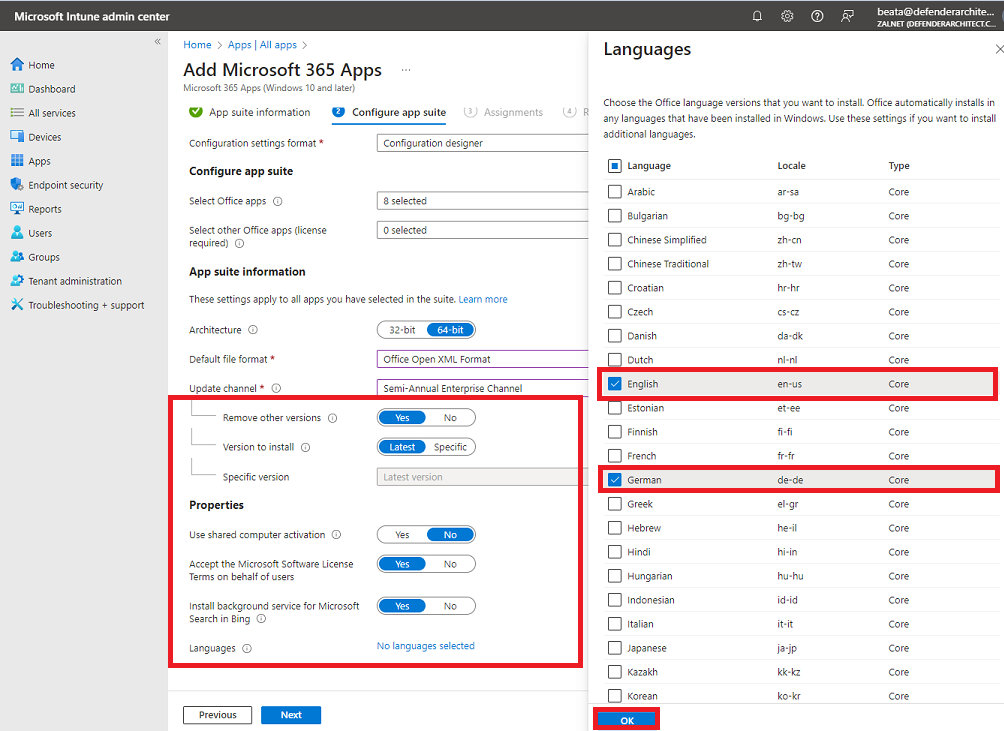
- After you choose a channel, you can choose the following:
- Remove other versions: Choose Yes to remove other versions of Office (MSI) from user devices. Choose this option when you want to remove pre-existing Office .MSI apps from end-user devices. The installation won’t succeed if there are pre-existing .MSI apps on end-user devices.
- Version to install: Choose the version of Office that should be installed.
- Specific version: If you have chosen Specific as the Version to install in the above setting, you can select to install a specific version of Office for the selected channel on end user devices. The available versions will change over time.
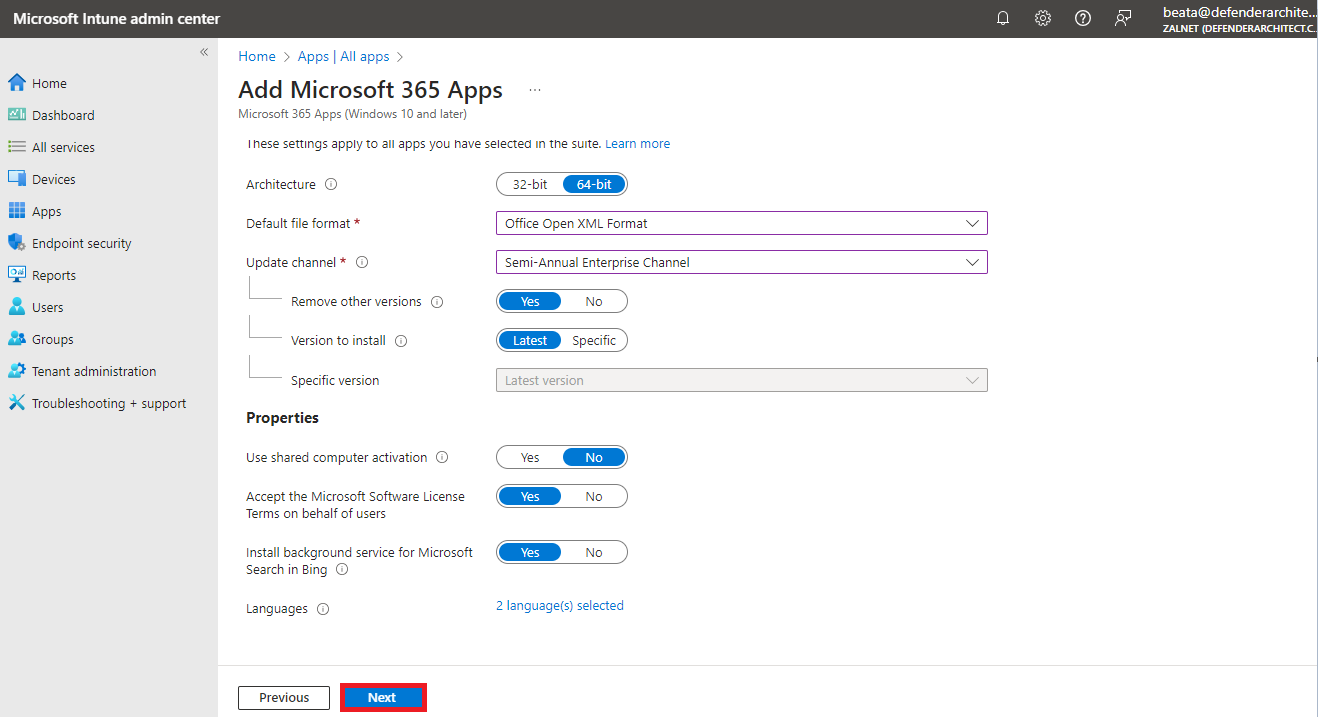
- Use shared computer activation: Select this option when multiple users share a computer.
- Automatically accept the app end user license agreement: Select this option if you don’t require end users to accept the license agreement. Intune then automatically accepts the agreement.
- Languages: Office is automatically installed in any of the supported languages that are installed with Windows on the end-user’s device. Select this option if you want to install additional languages with the app suite. You can deploy additional languages for Microsoft 365 Apps managed through Intune. The list of available languages includes the Type of language pack (core, partial, and proofing). In the portal, select Microsoft Intune > Apps > All apps > Add. In the App type list of the Add app pane, select Windows 10 and later under Microsoft 365 Apps. Select Languages in the App Suite Settings pane.
10. Click Next.
11. In the Assignments tab click + Add group, + Add all users, or + Add all devices under the Required, Available for enrolled devices, or Uninstall group assignments for the app suite. Click Next to display the Review + create page.

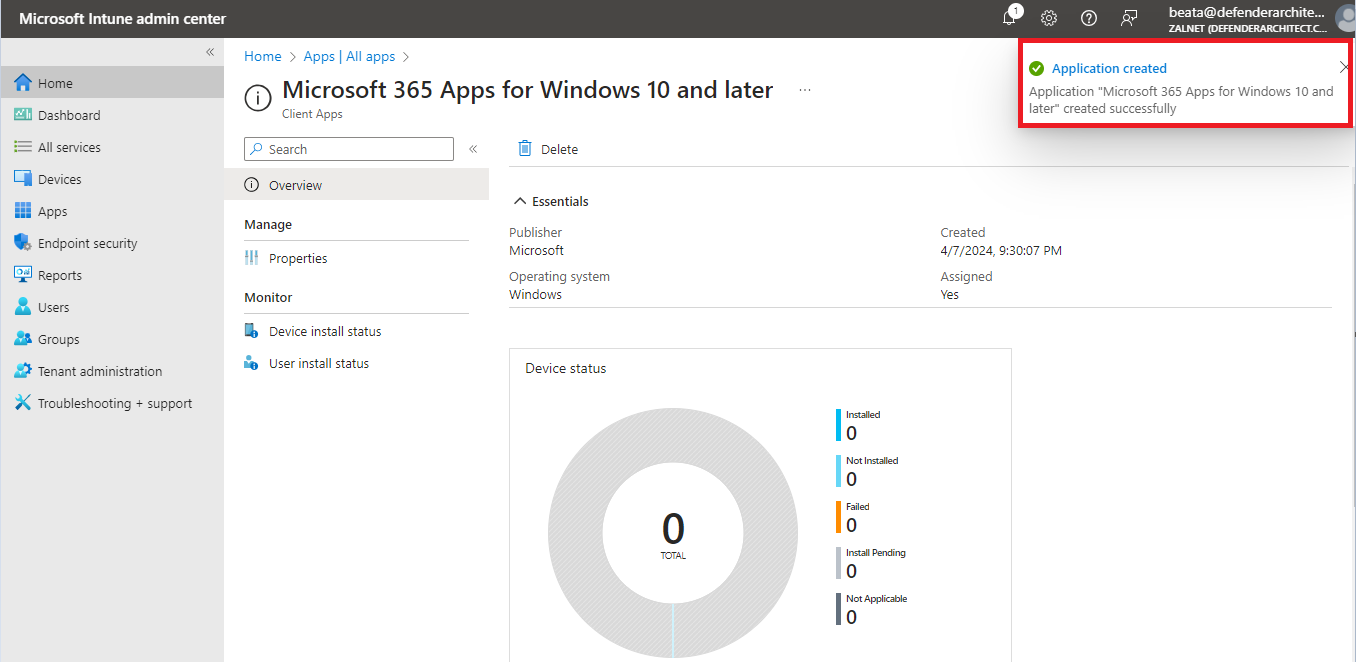
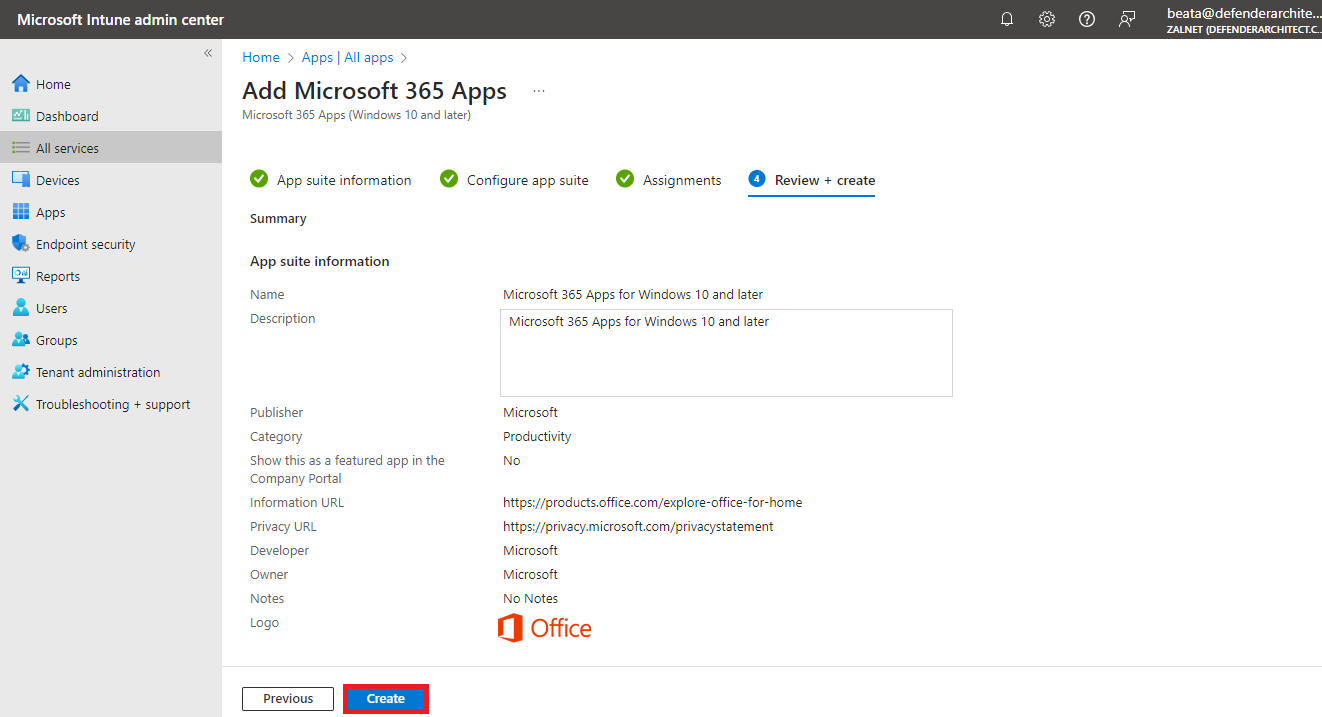
12. Review the summary and click Create.
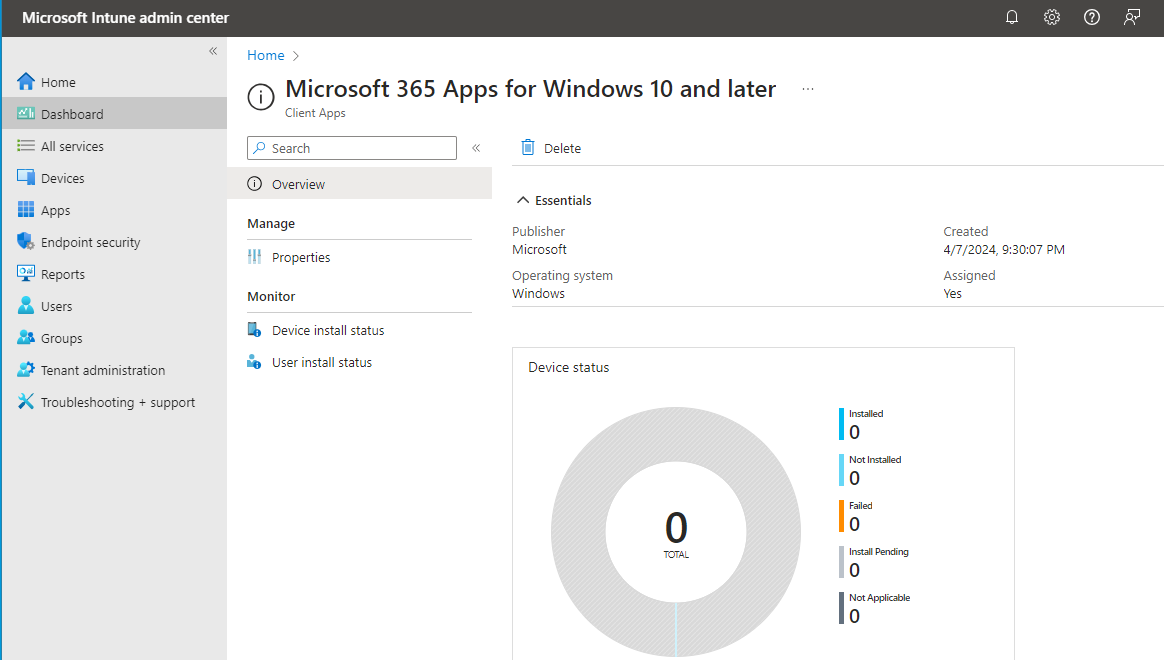
13. Let’s verify that the application was created successfully.